
This time not about electrical design, electronics or programming!
I had a pendrive which I didn't need at all, and because I found it really ugly I decided to remove all the unnecessary parts to strip it down to the PCB and possibly reduce the size.
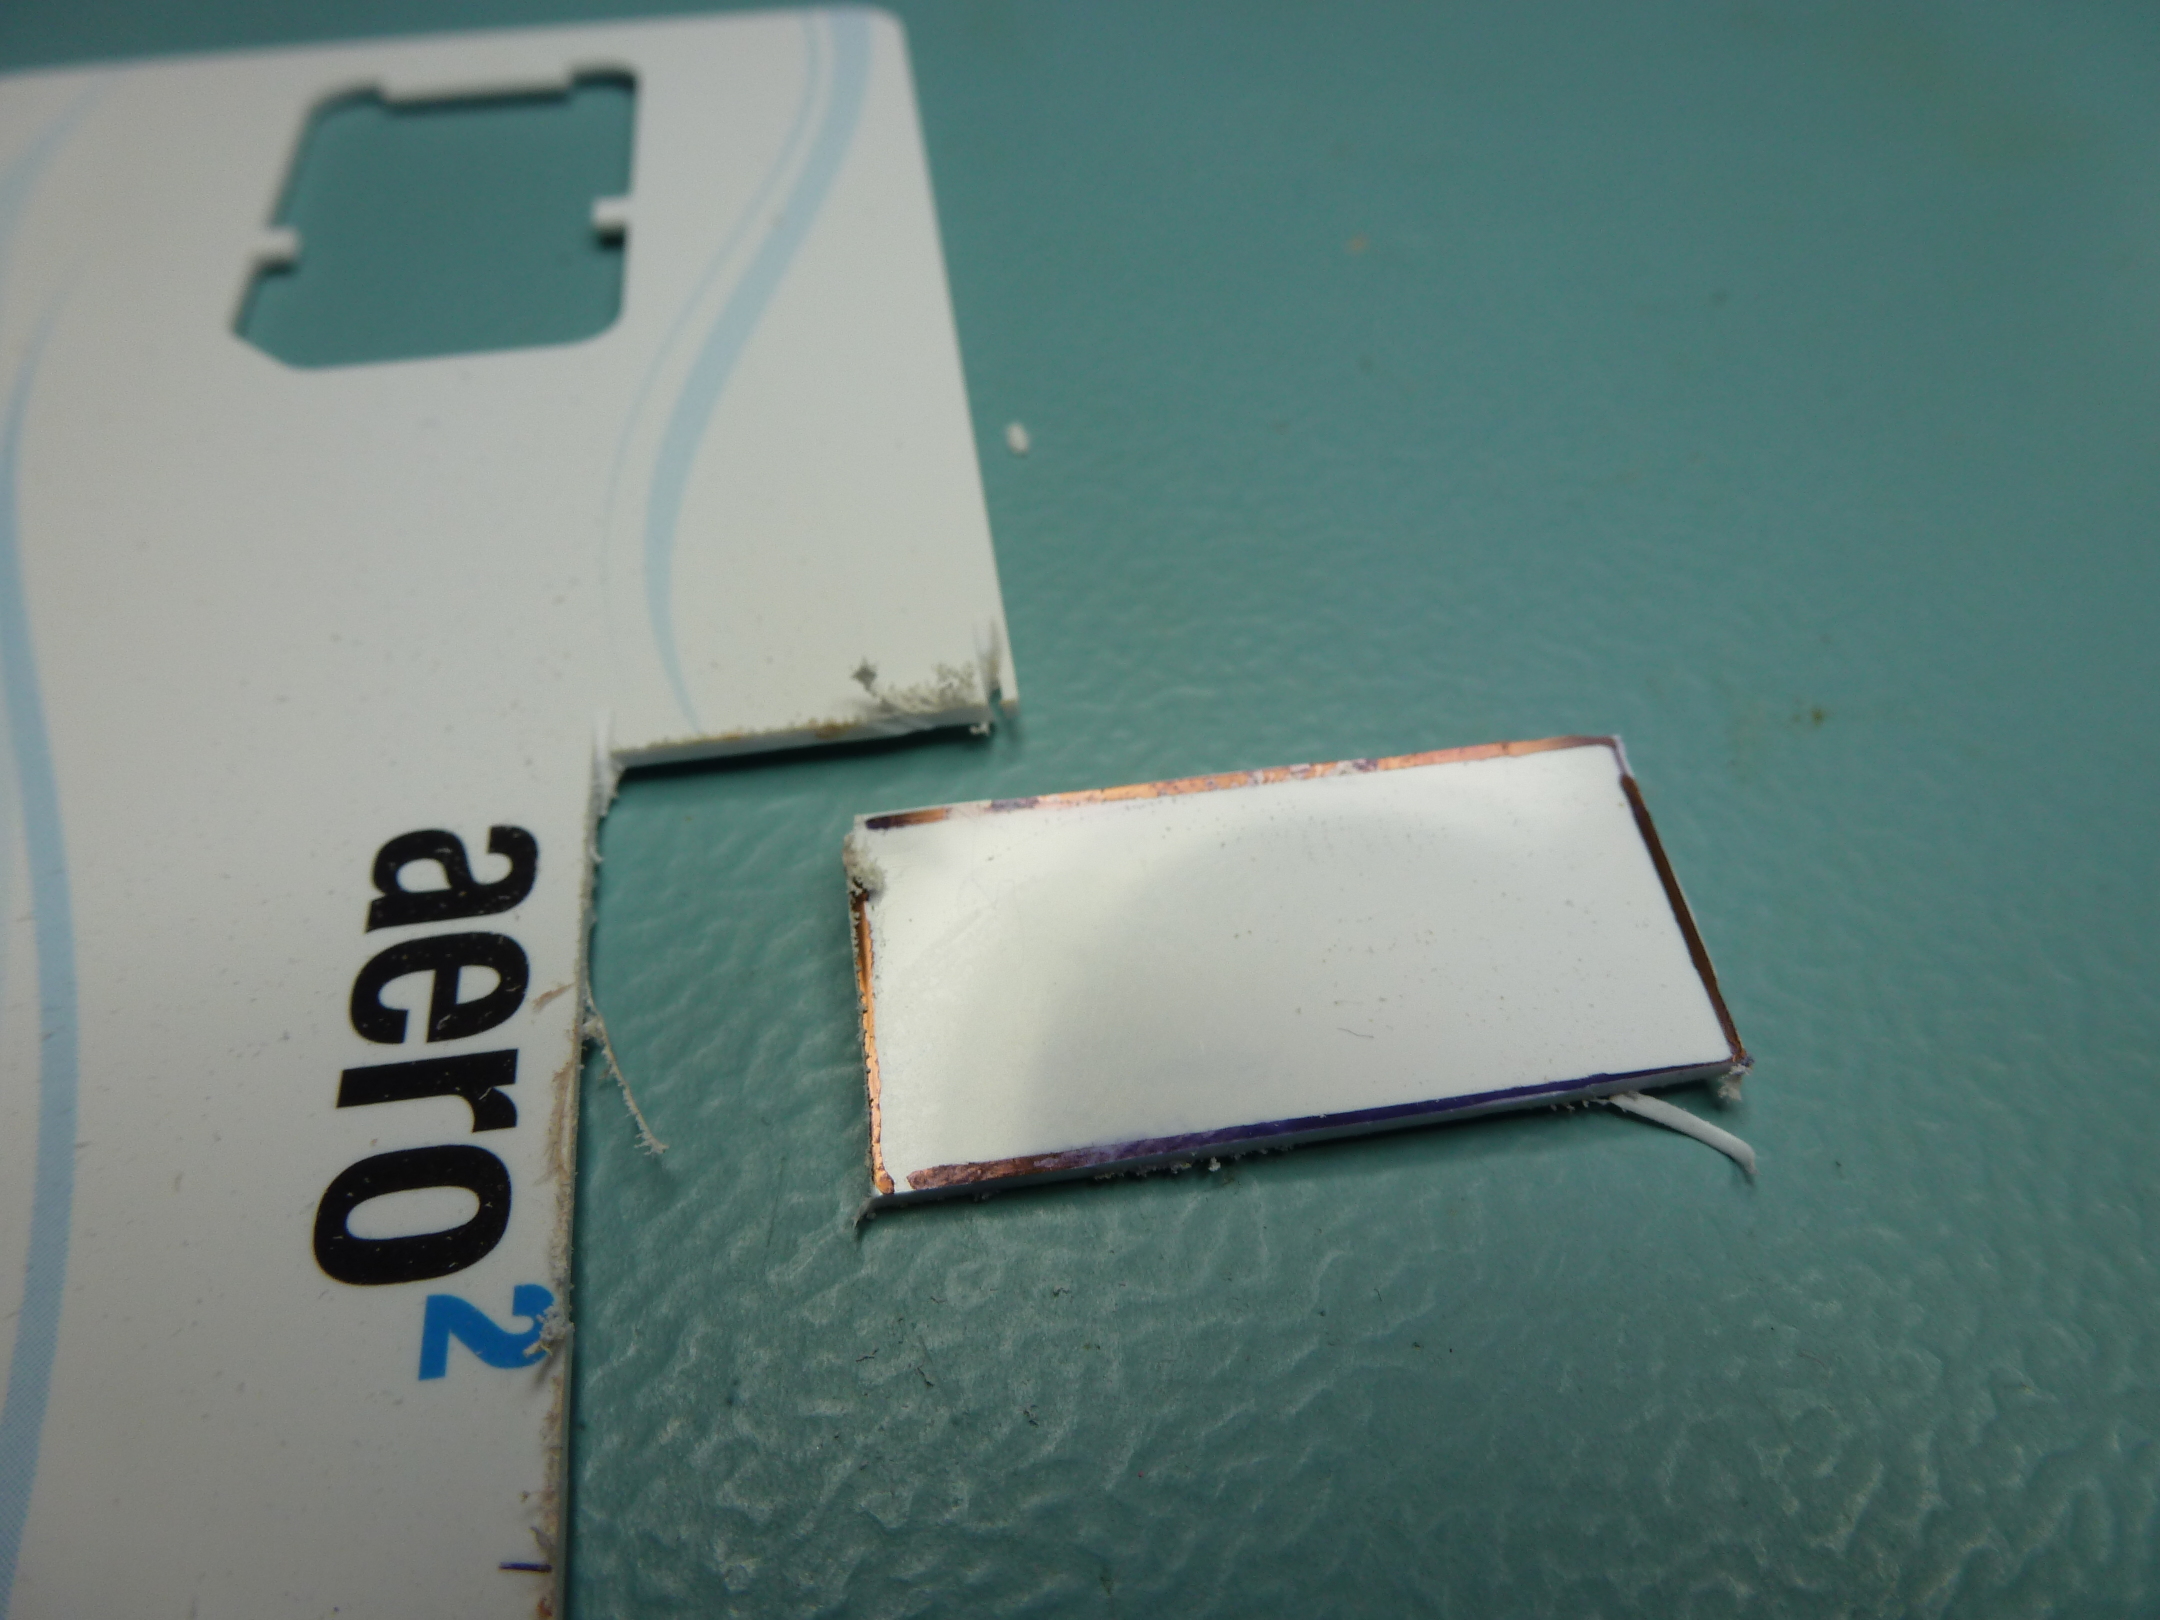
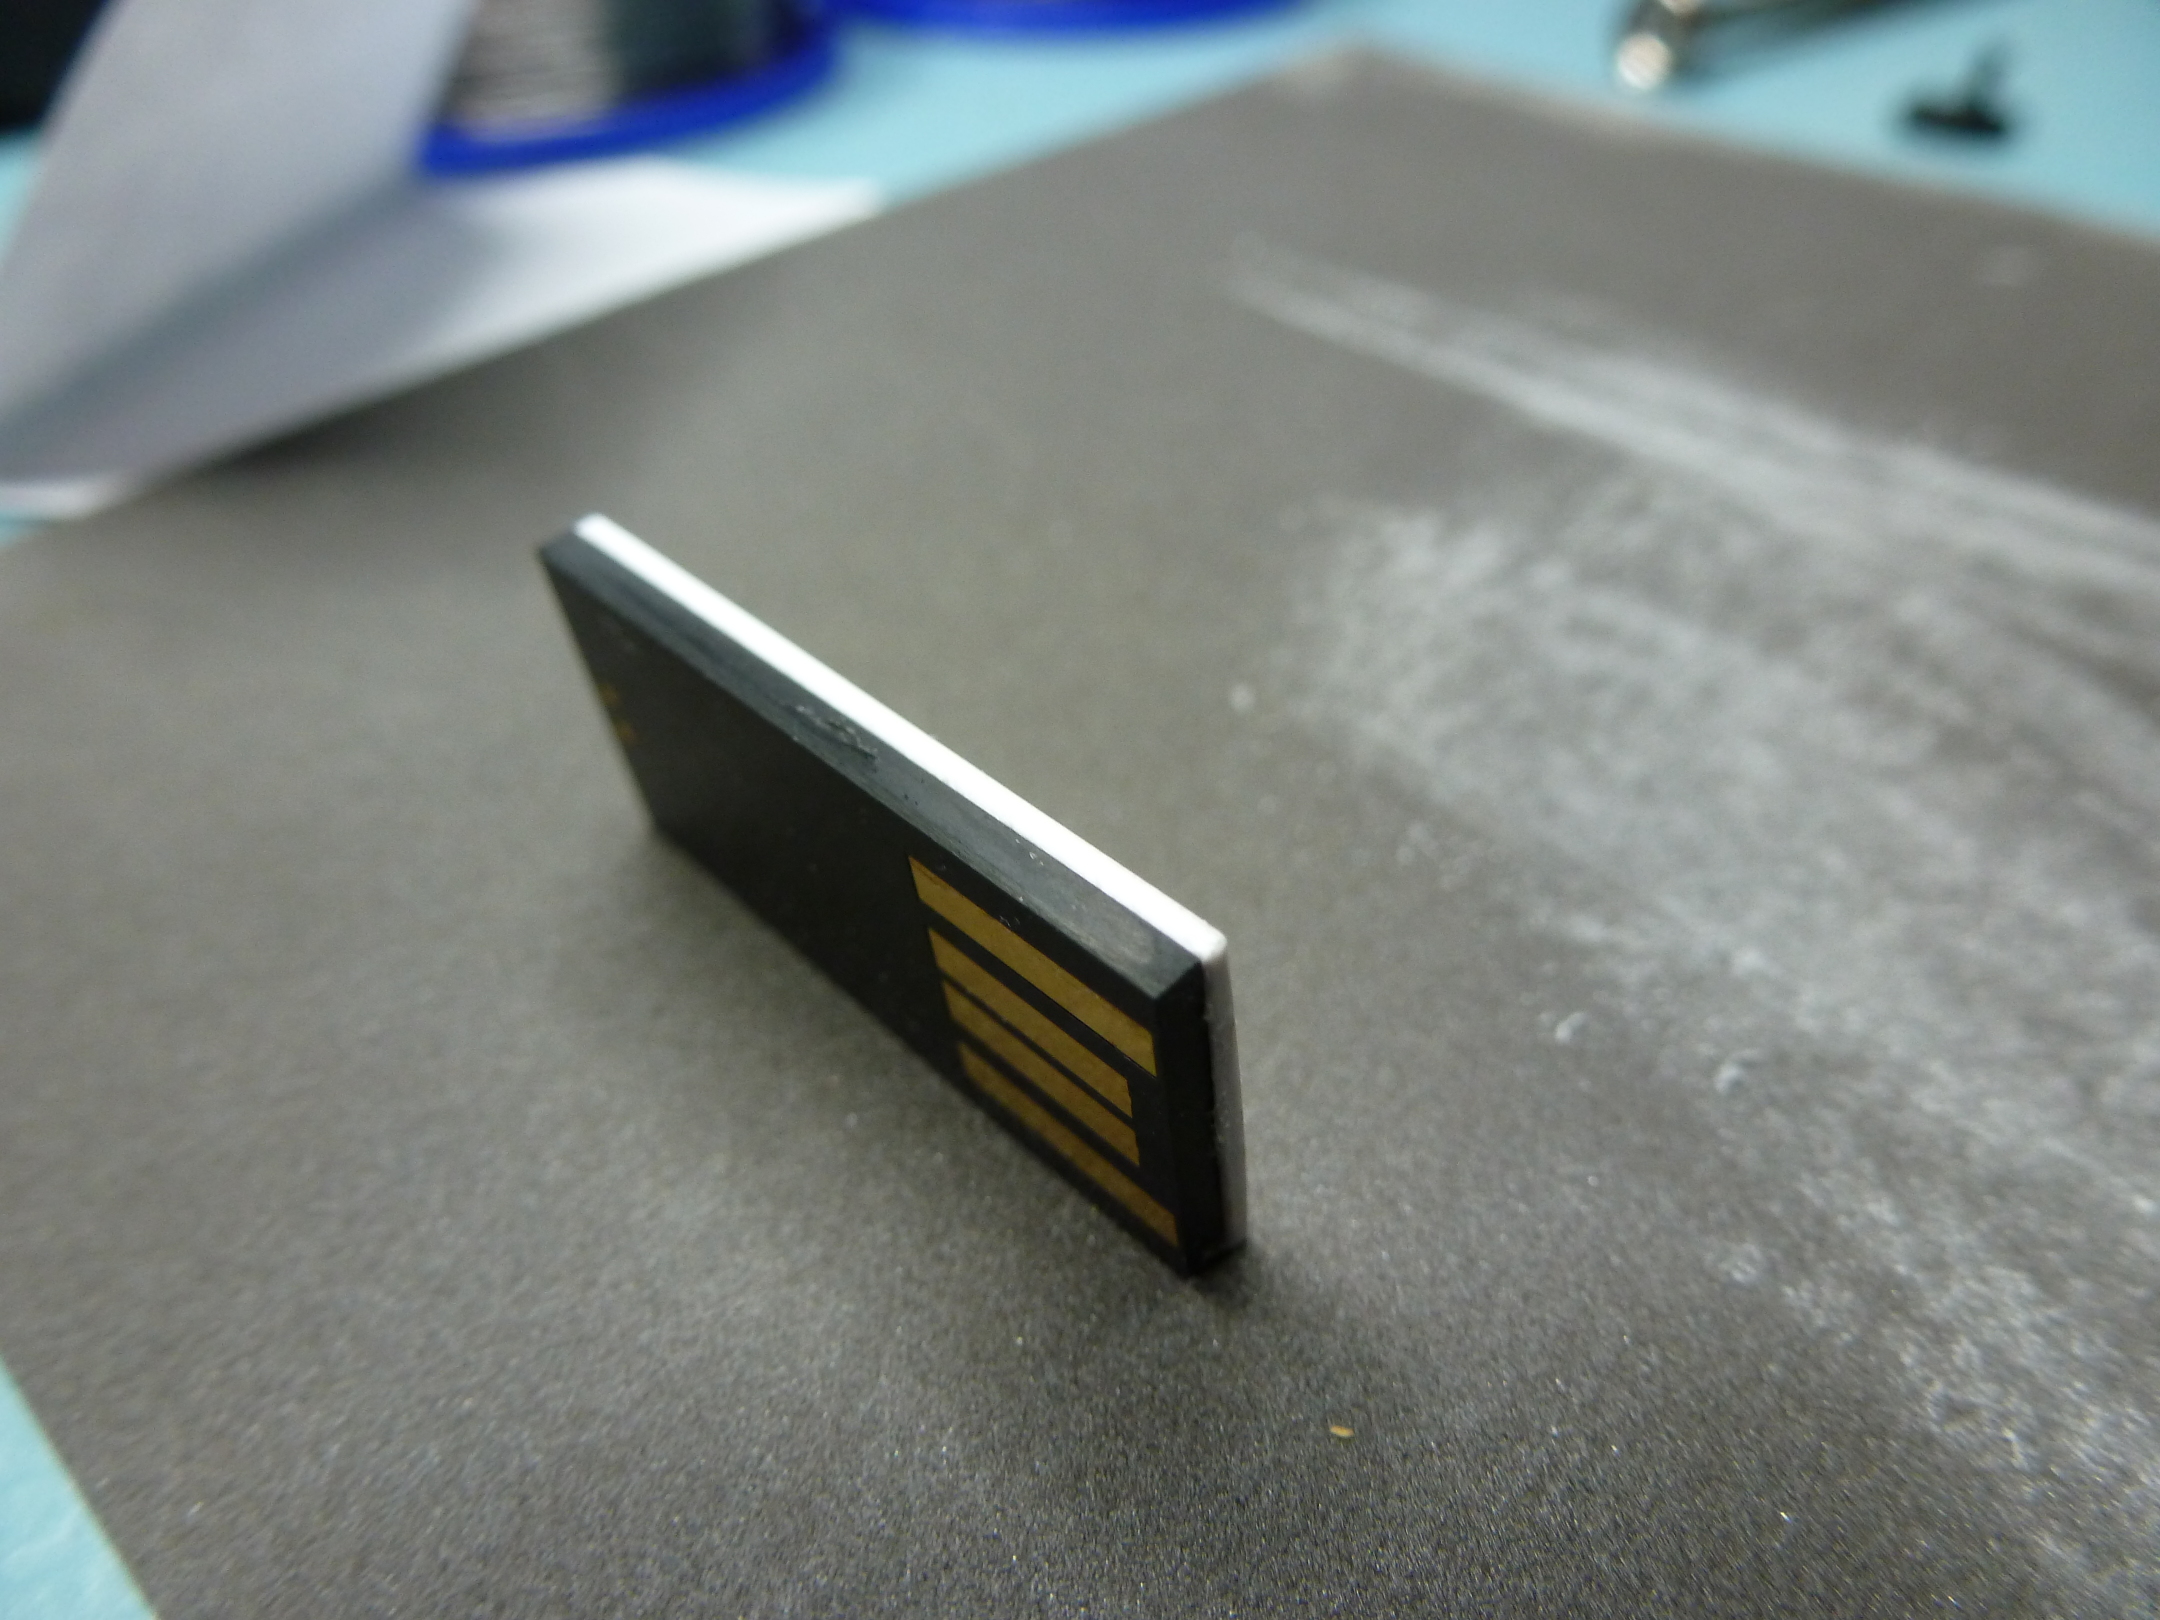
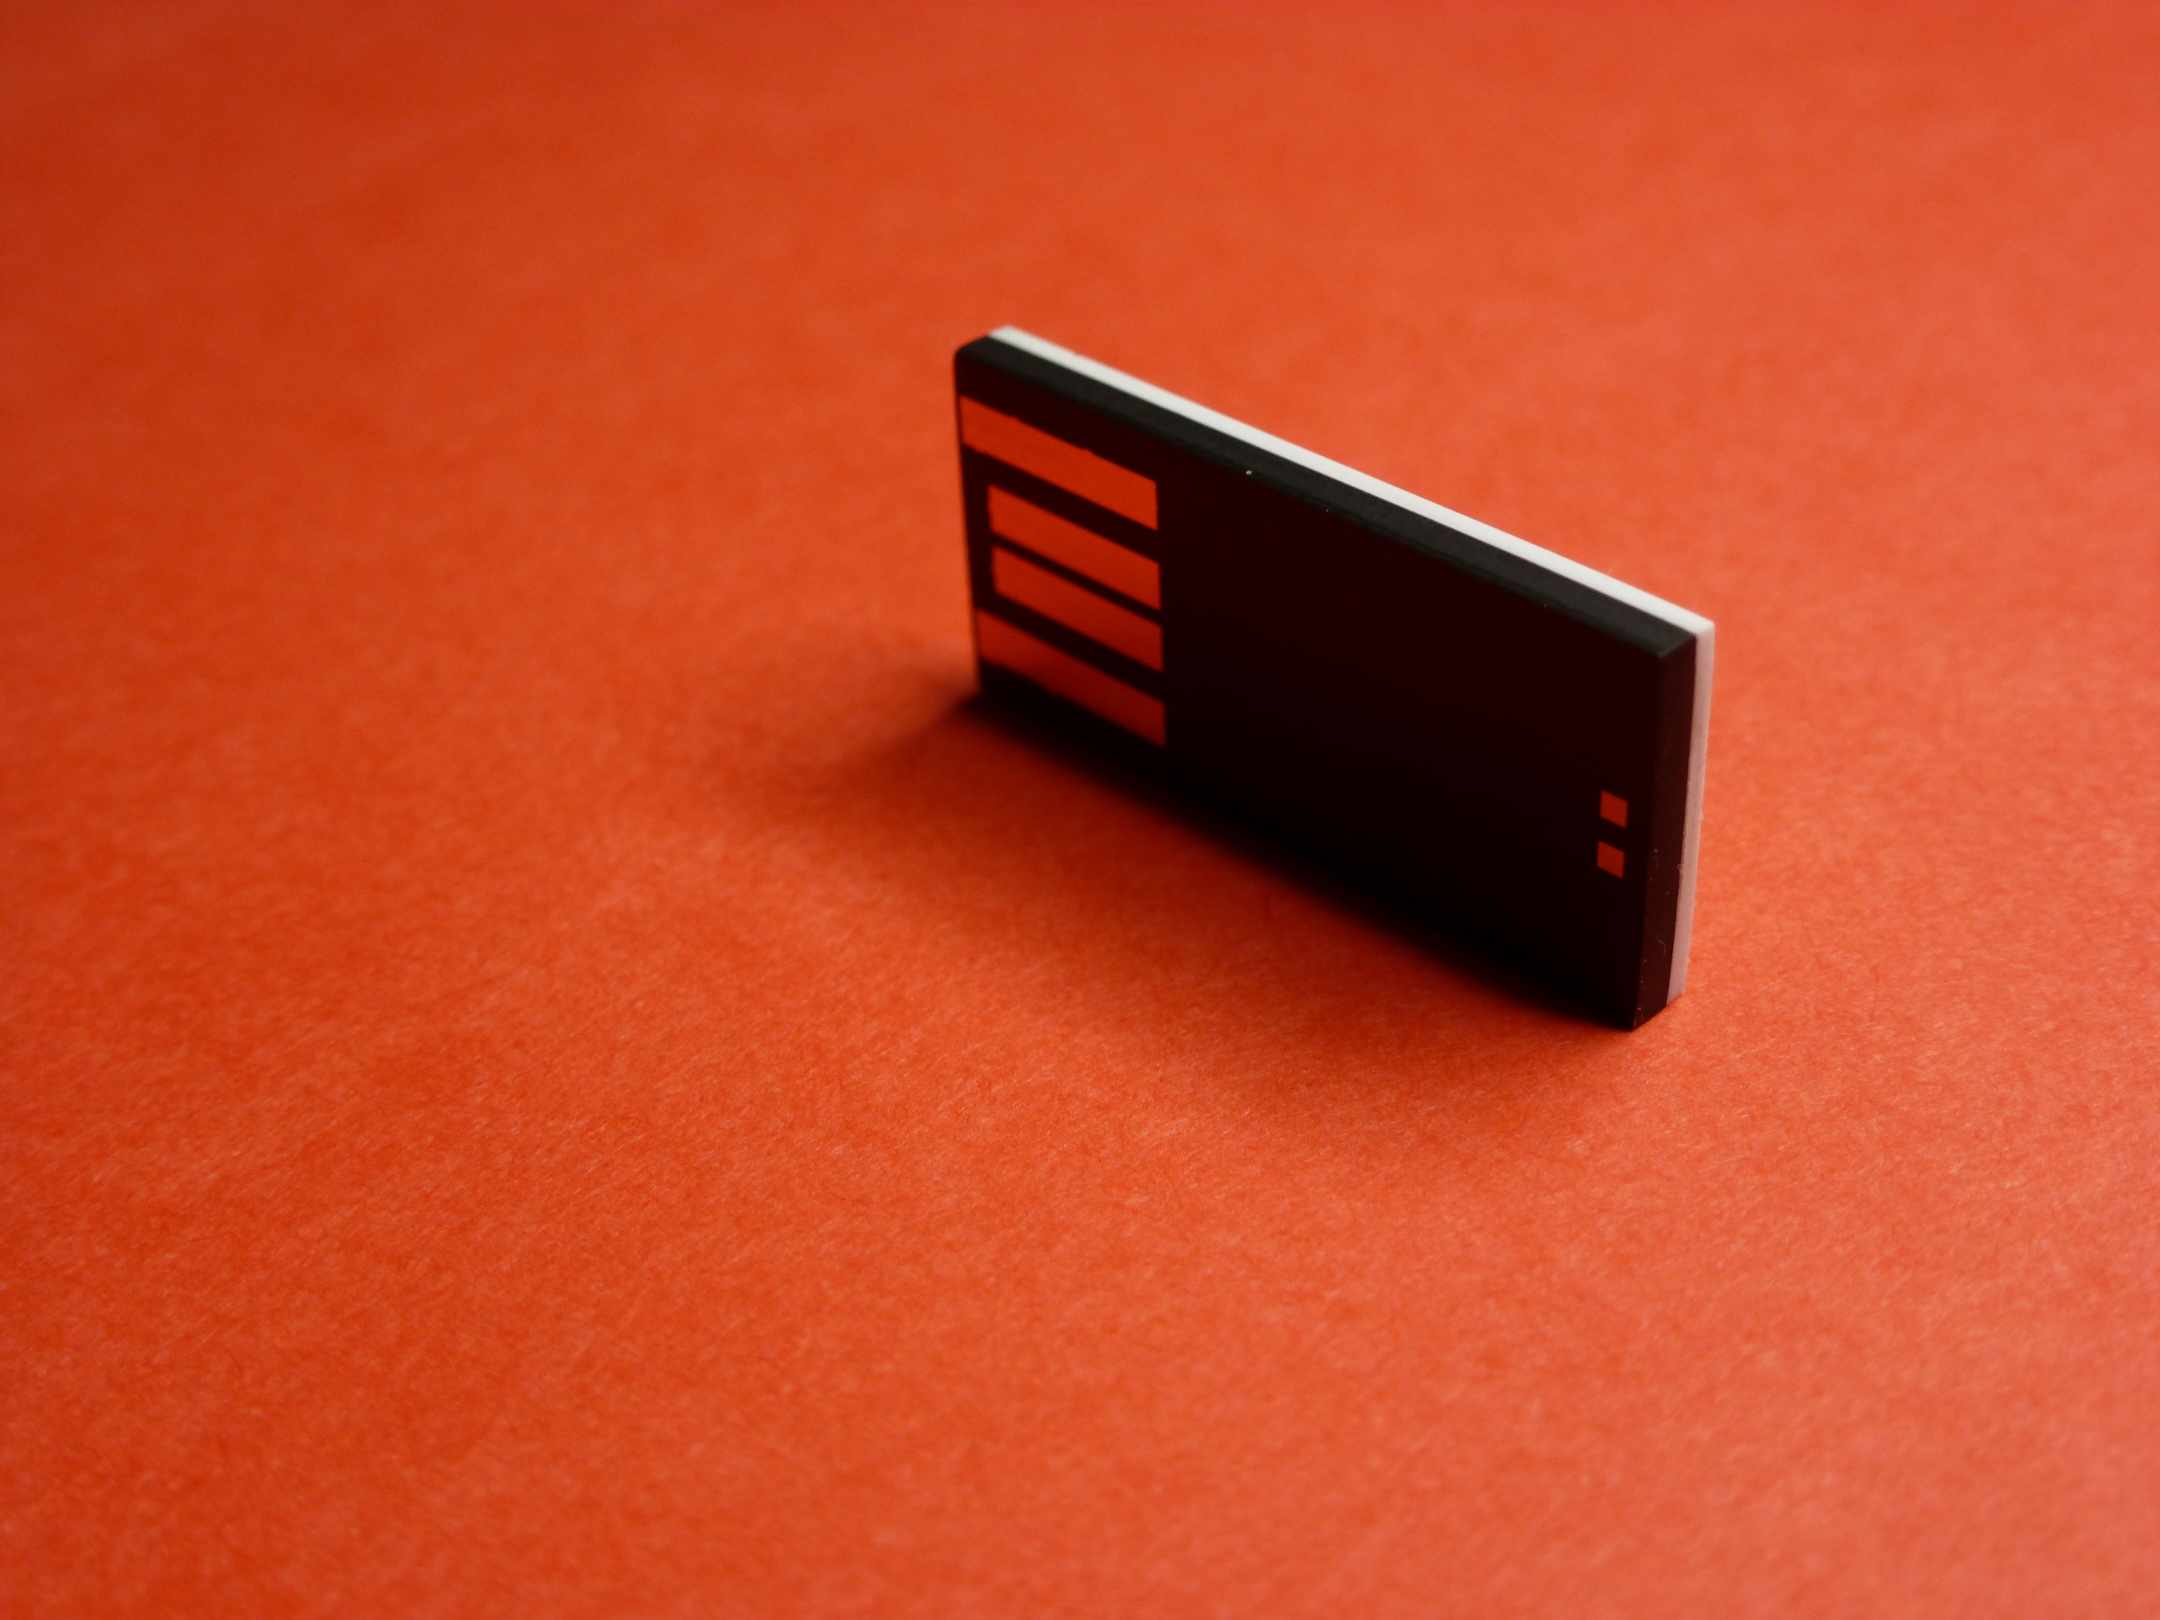
The device I'm talking about is a Kingston DT108 8GB flash drive. And here's what I found when I broke it apart:
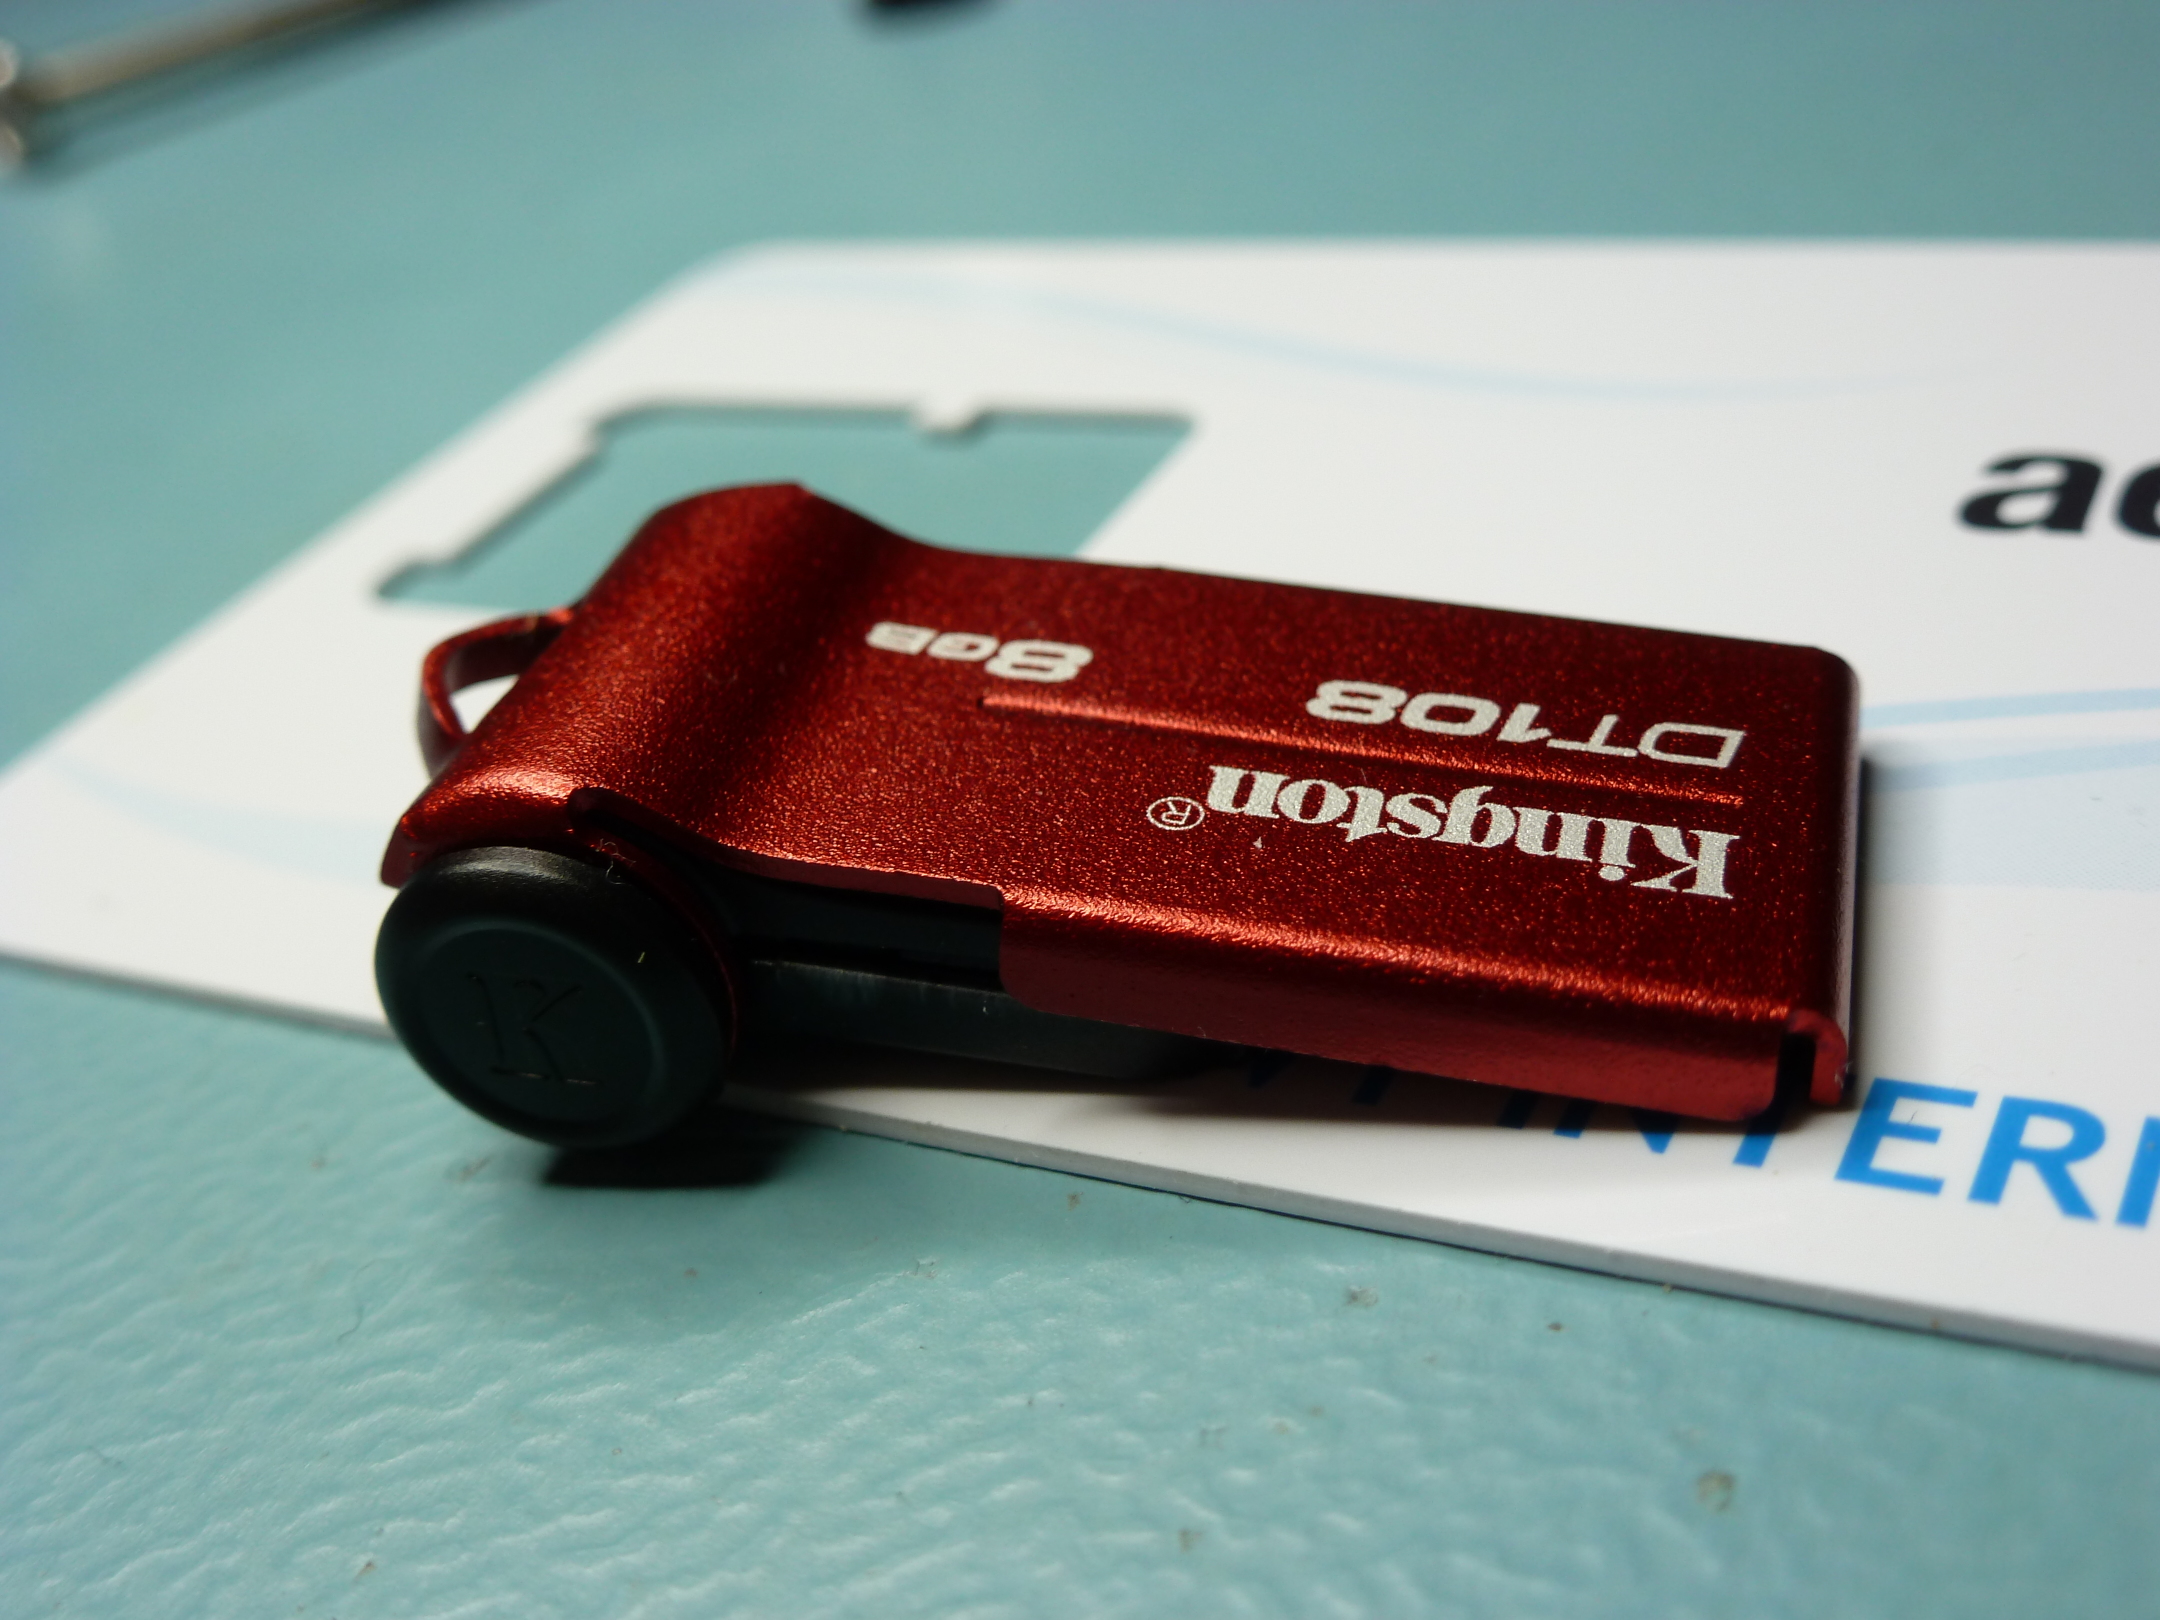
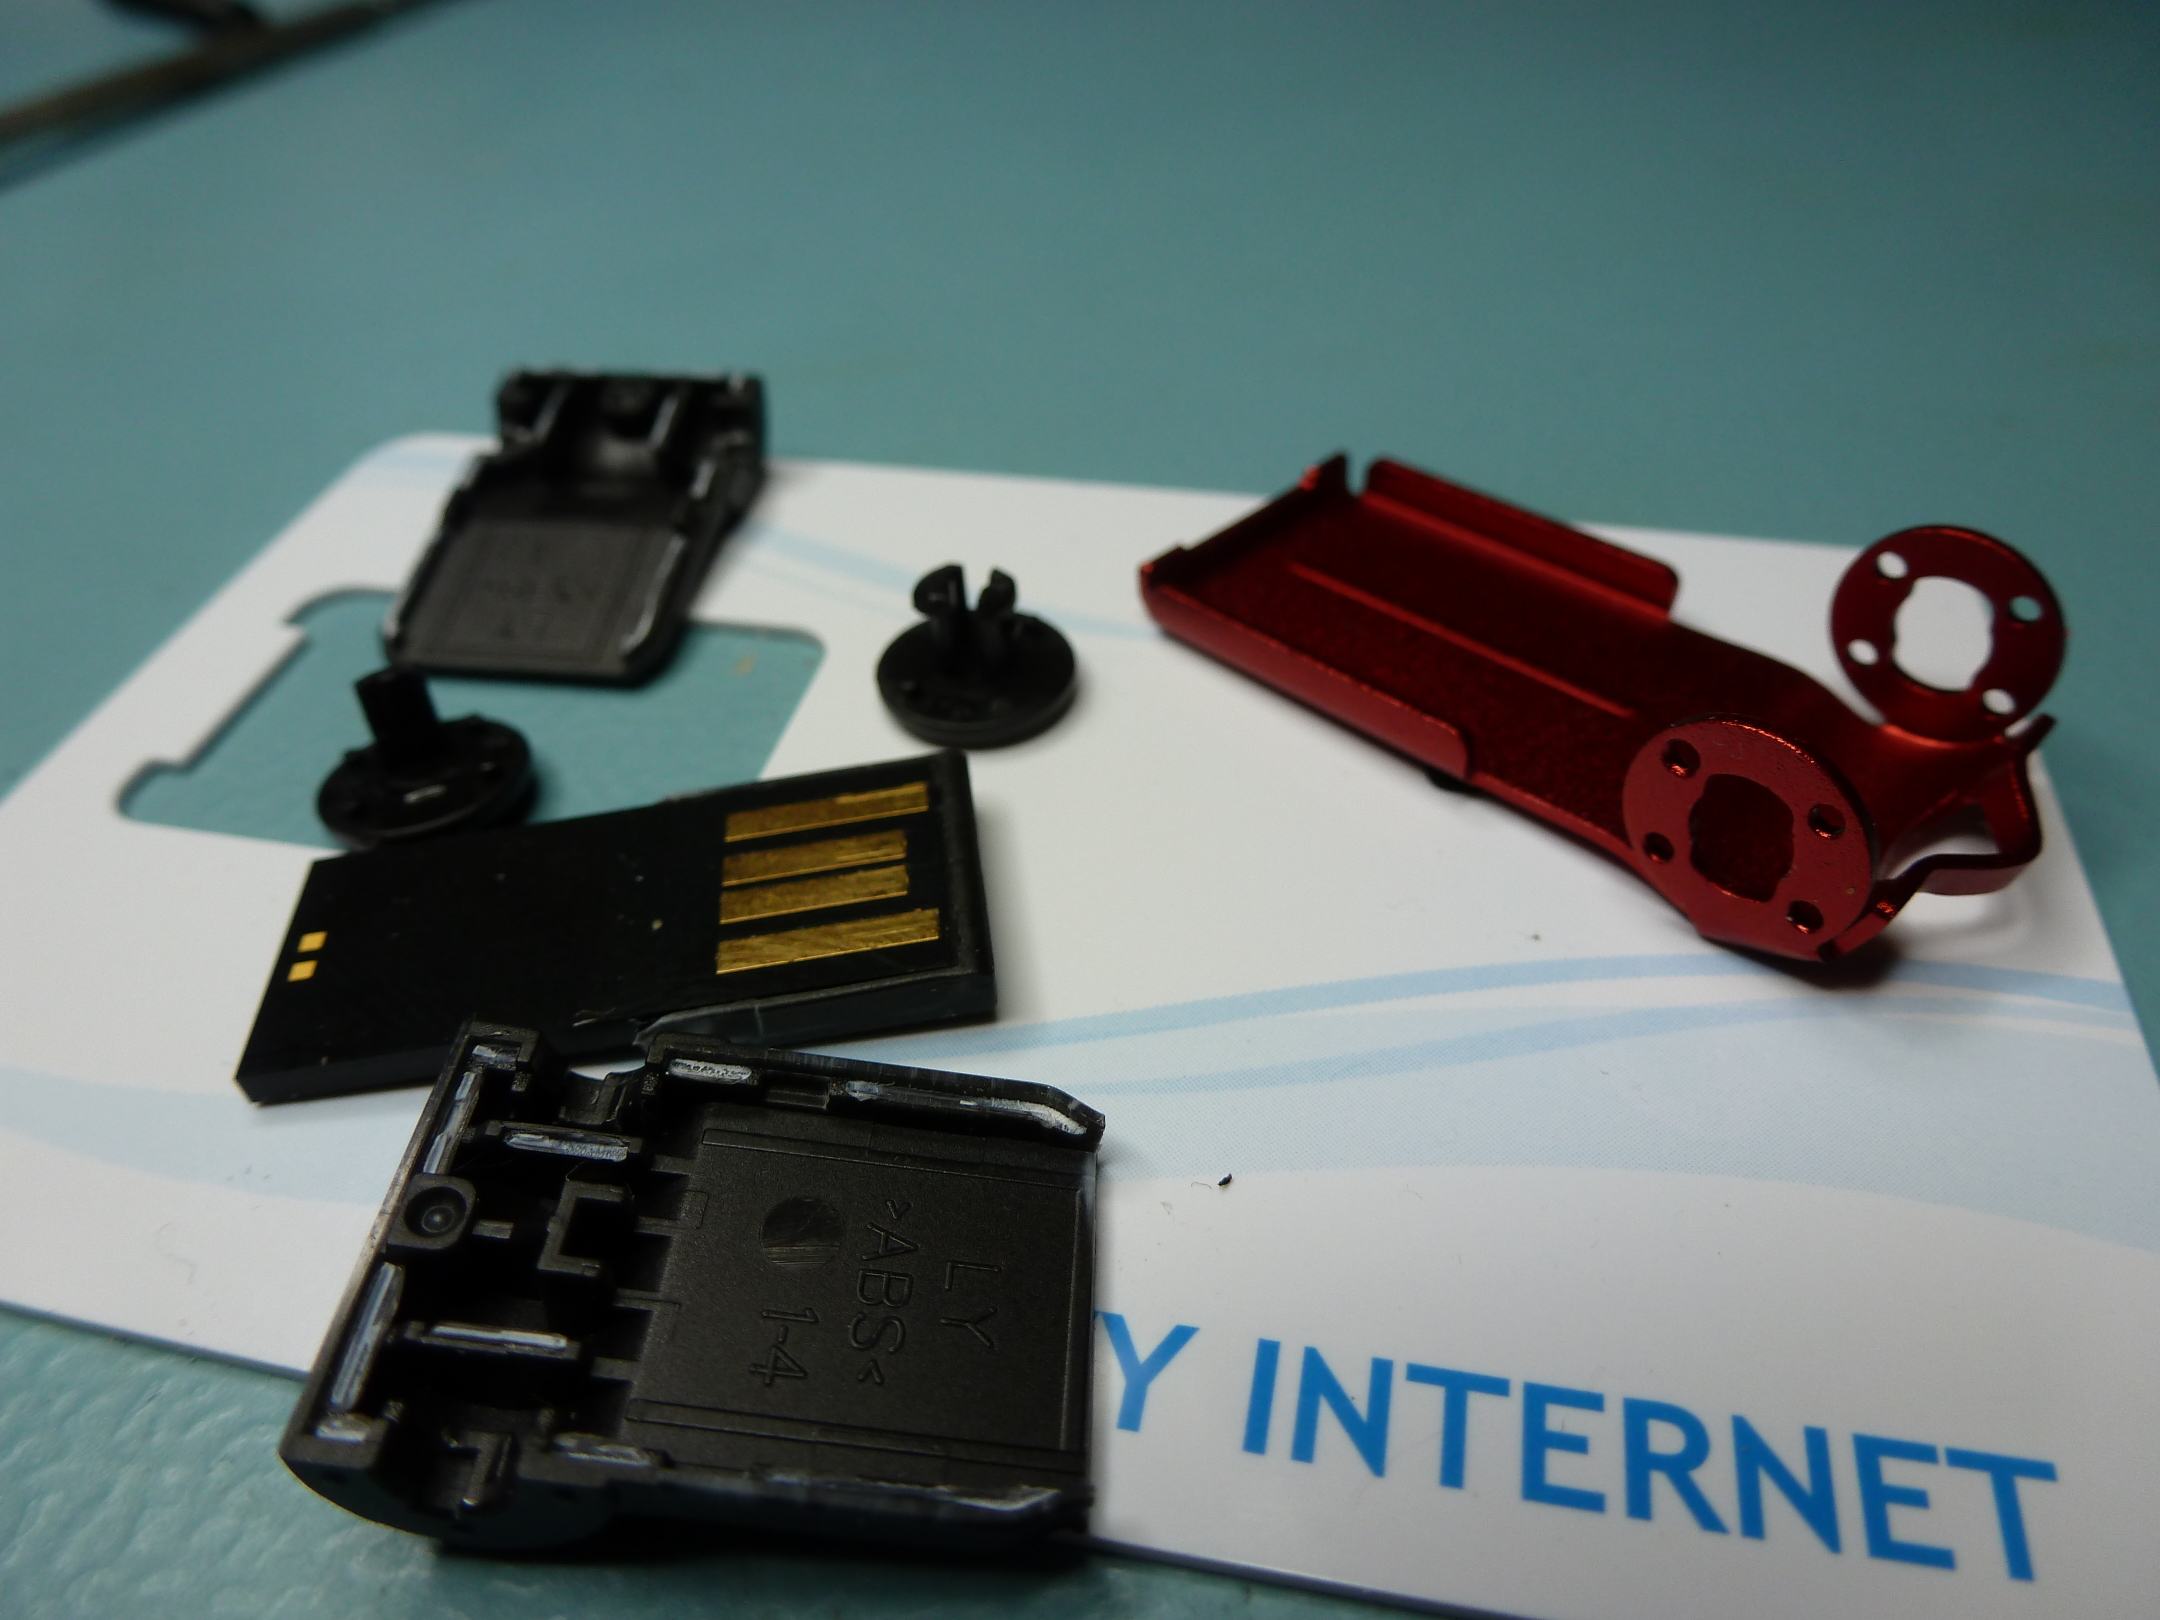

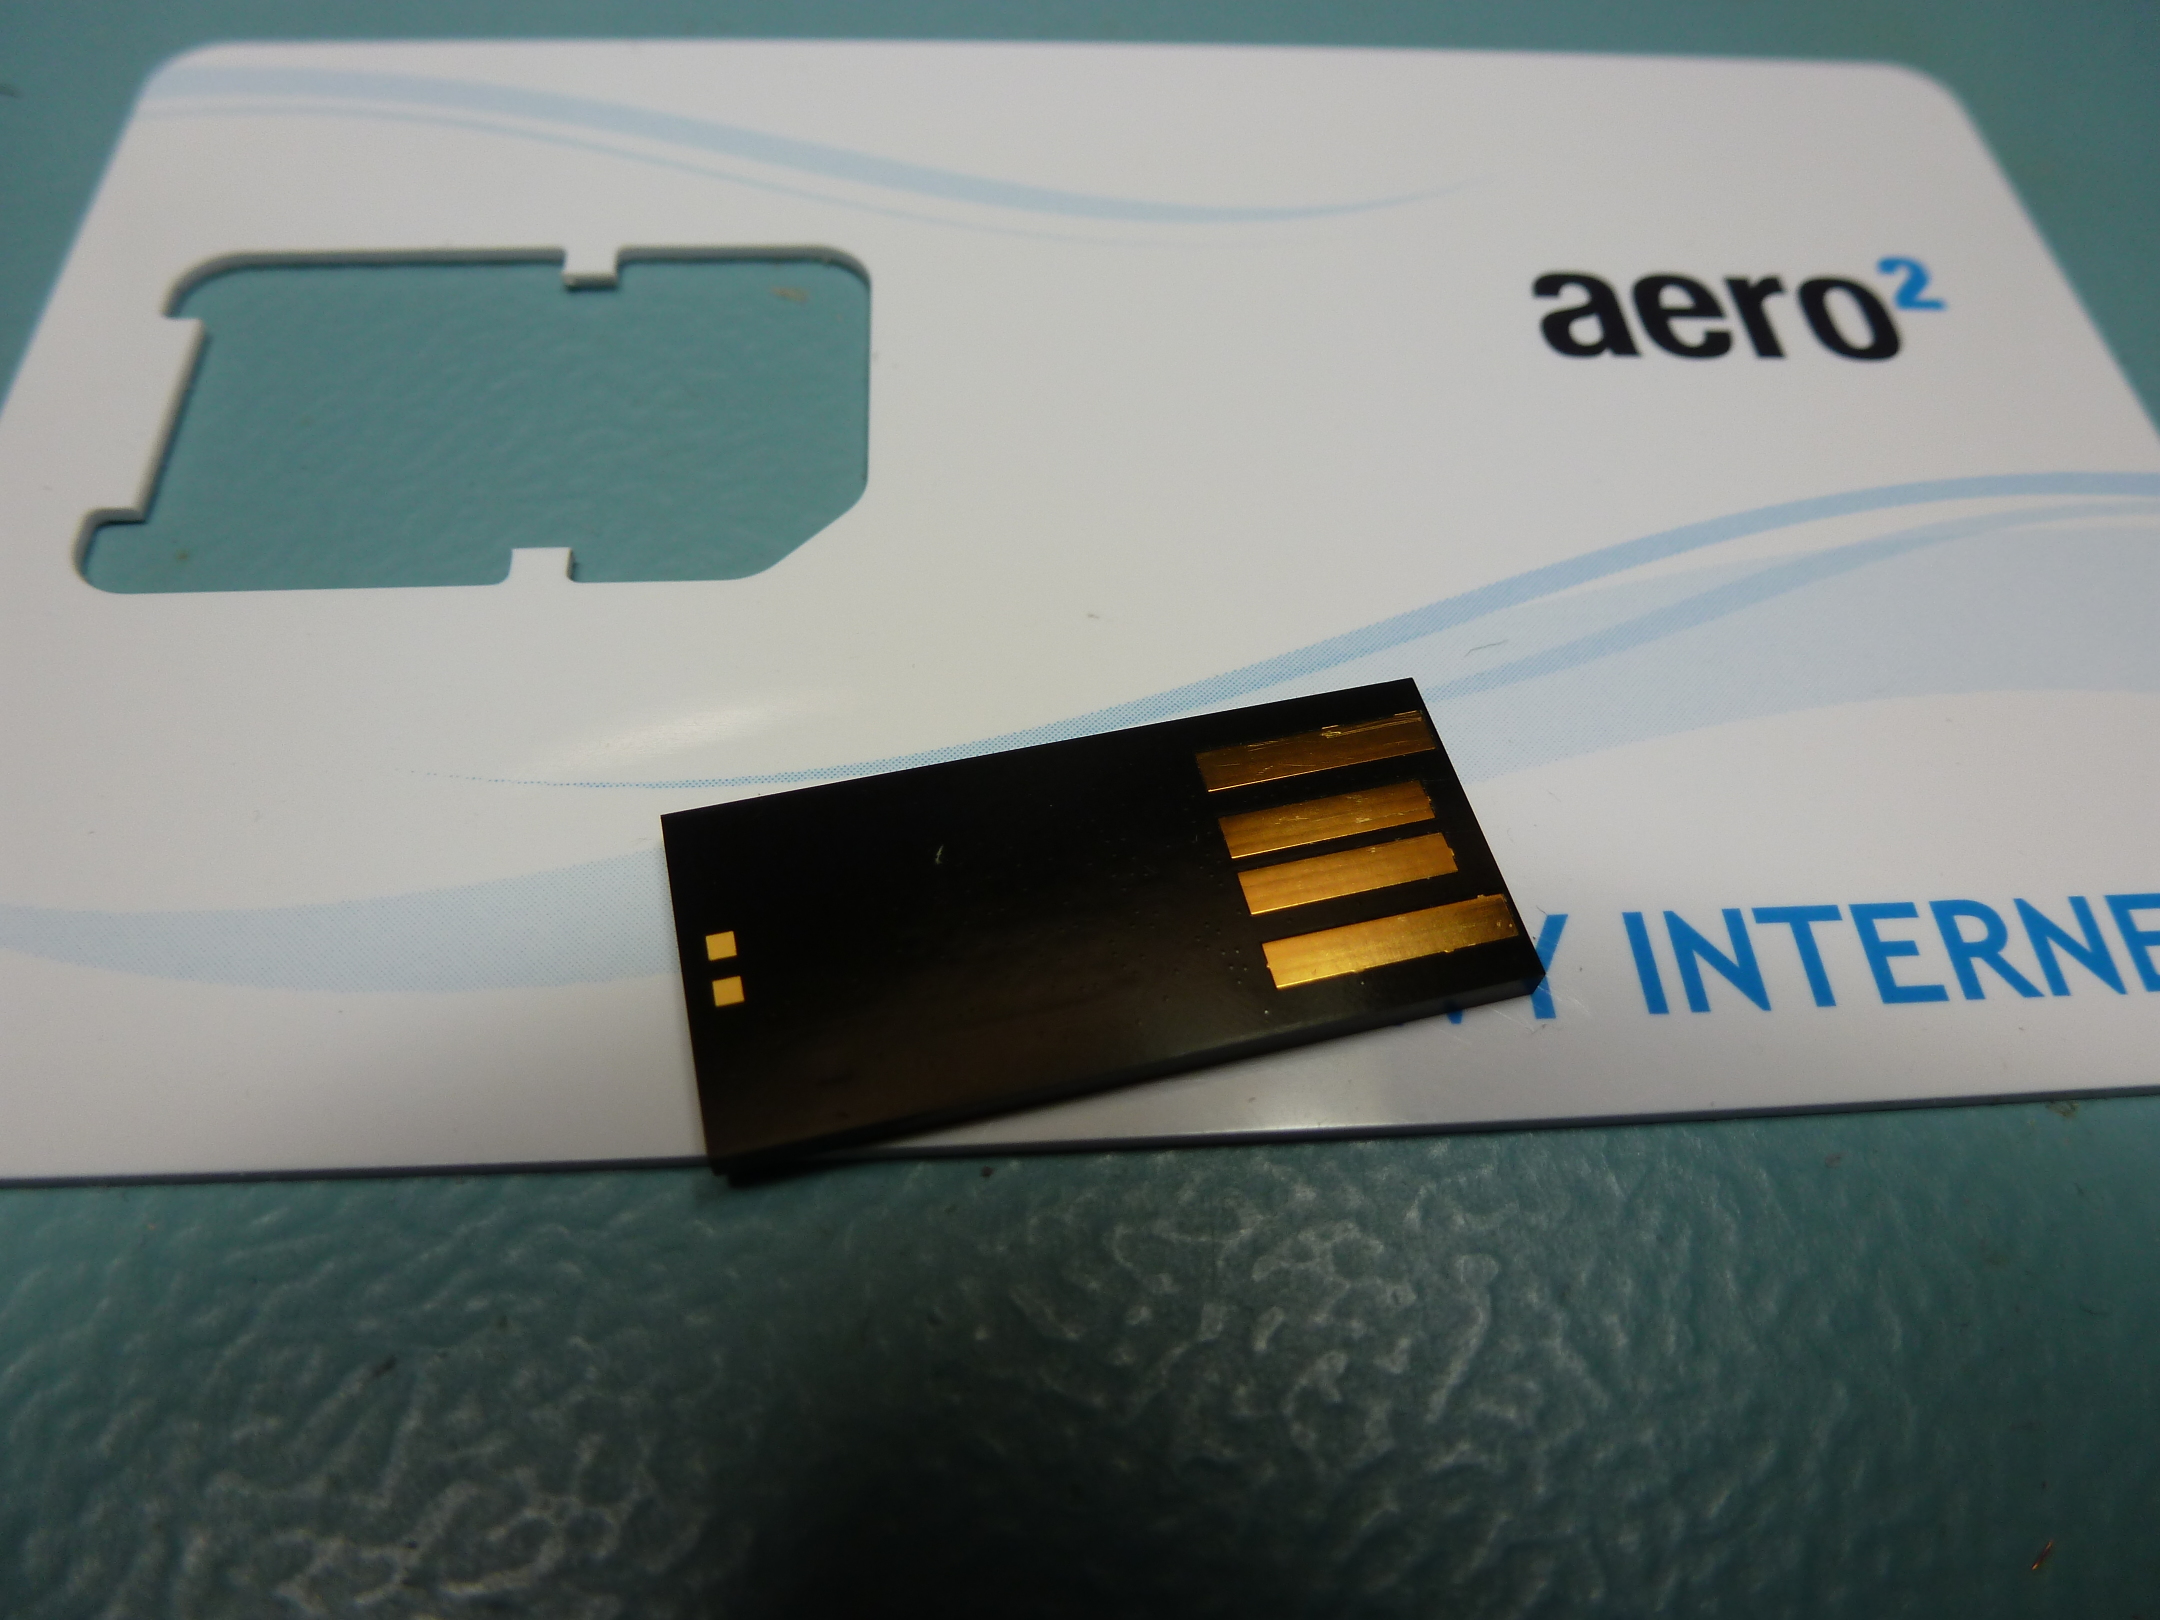
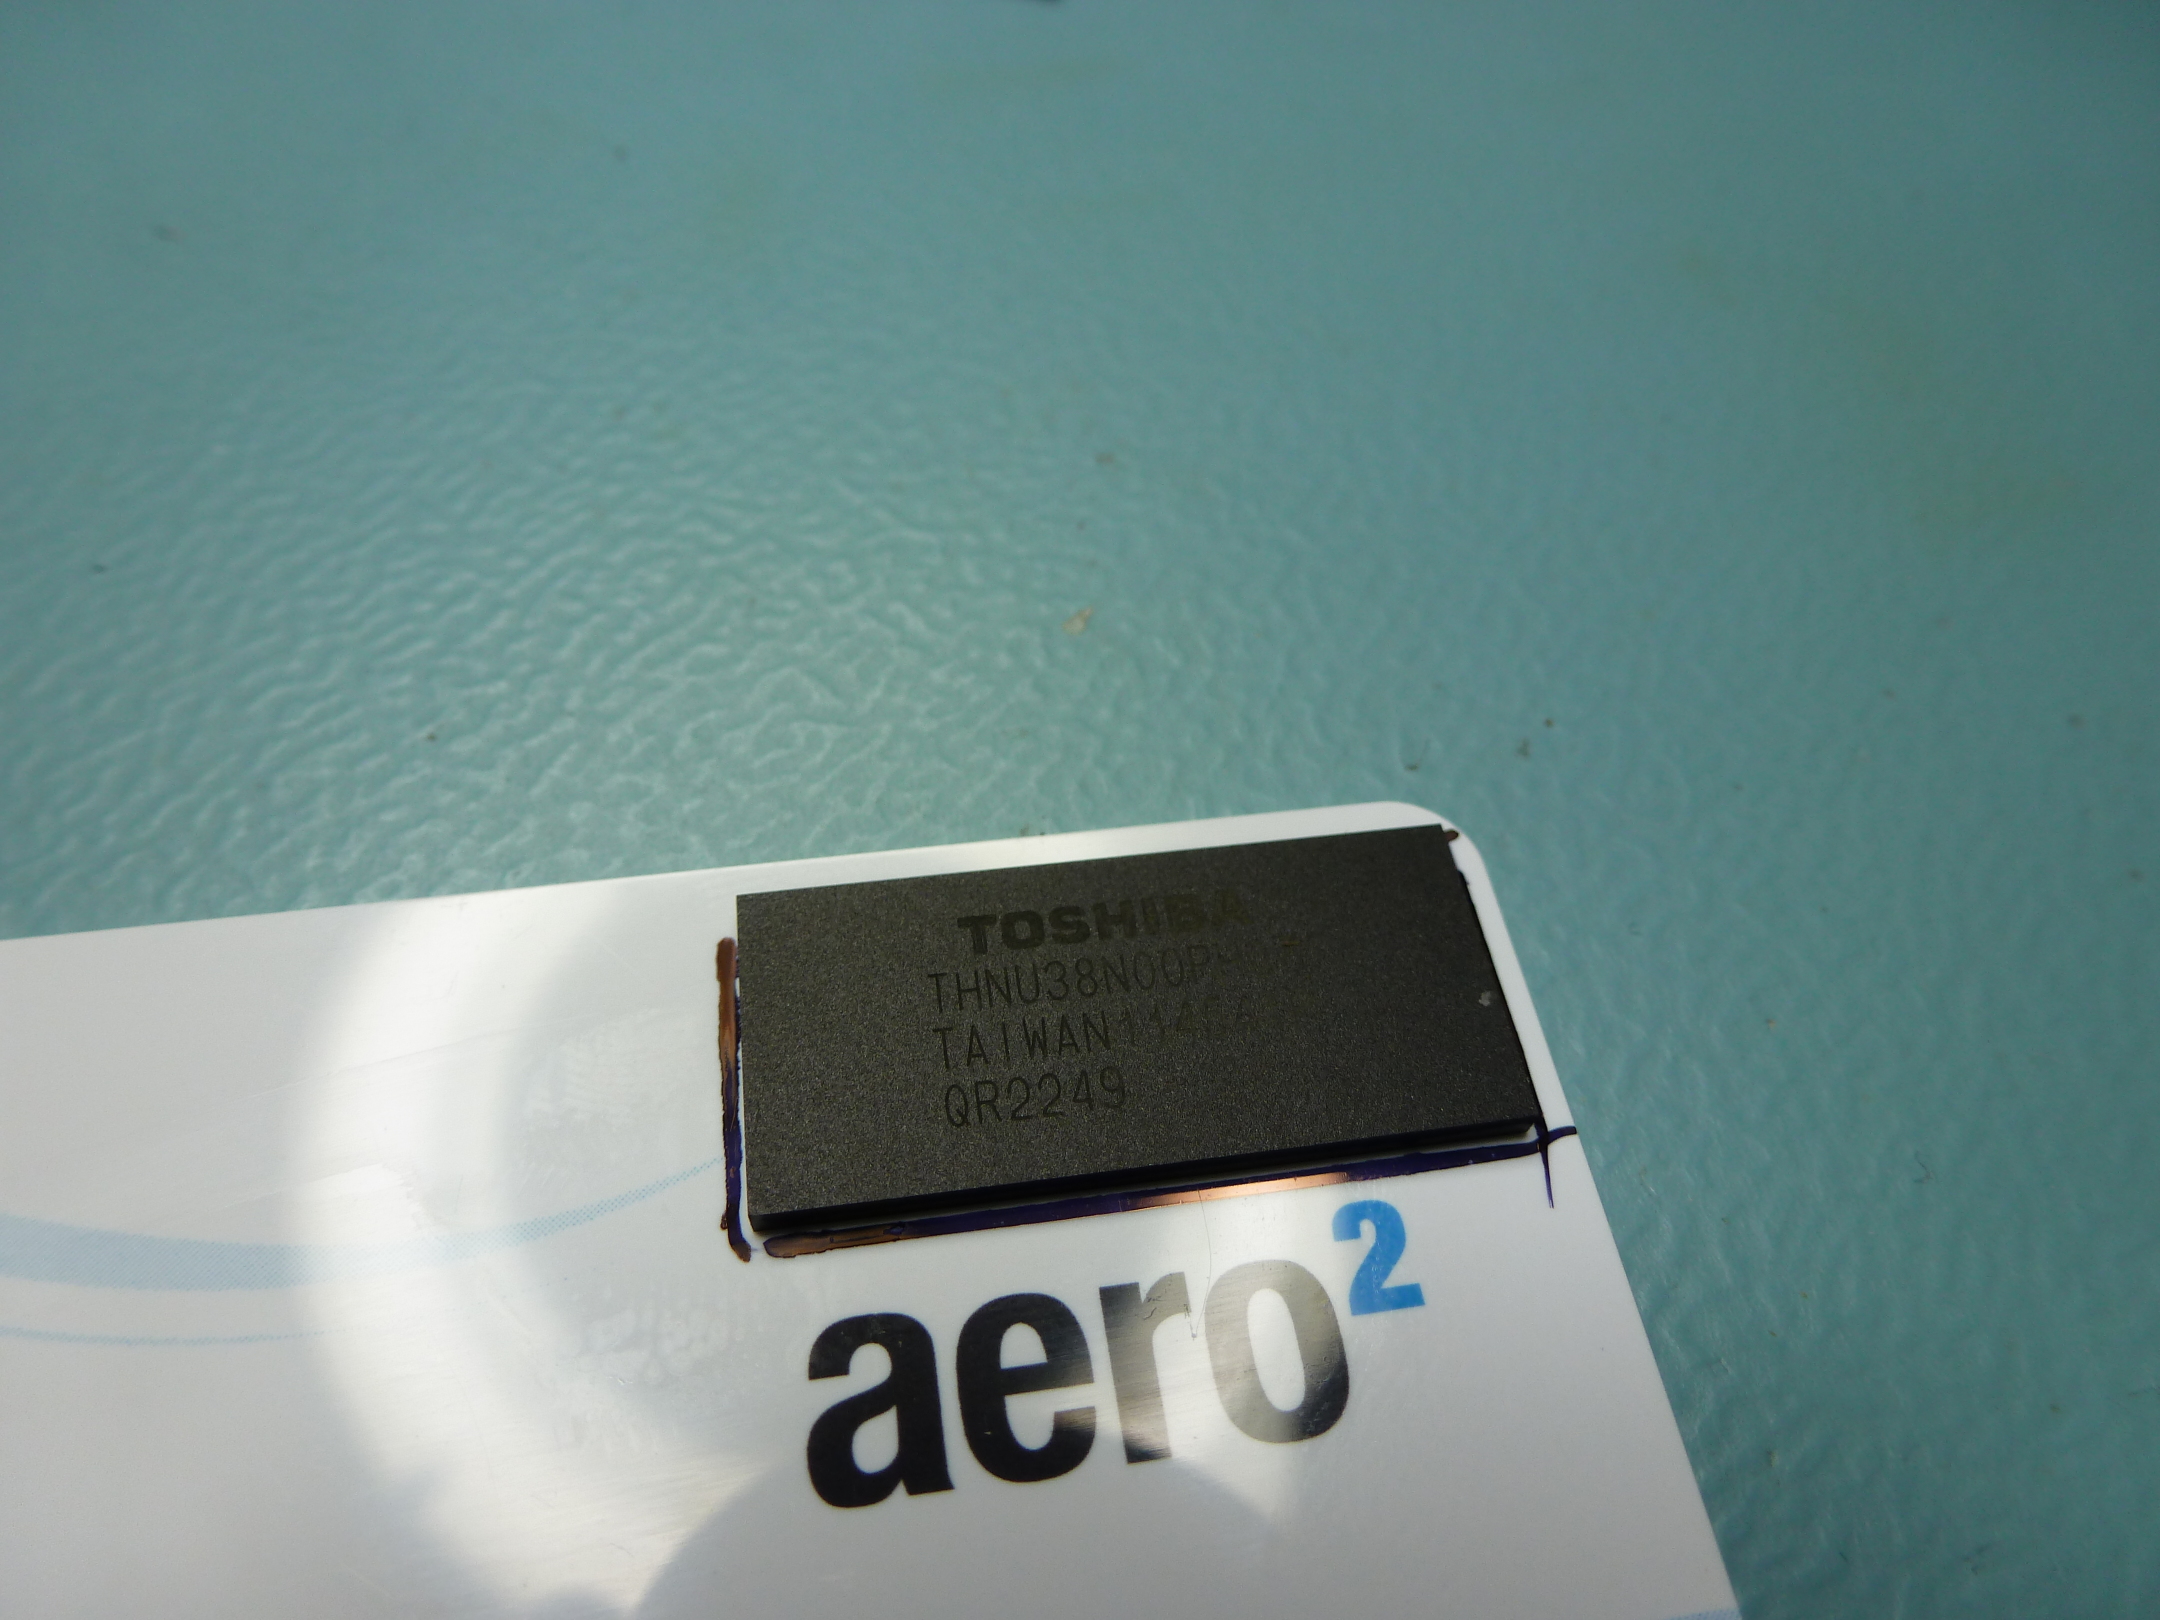
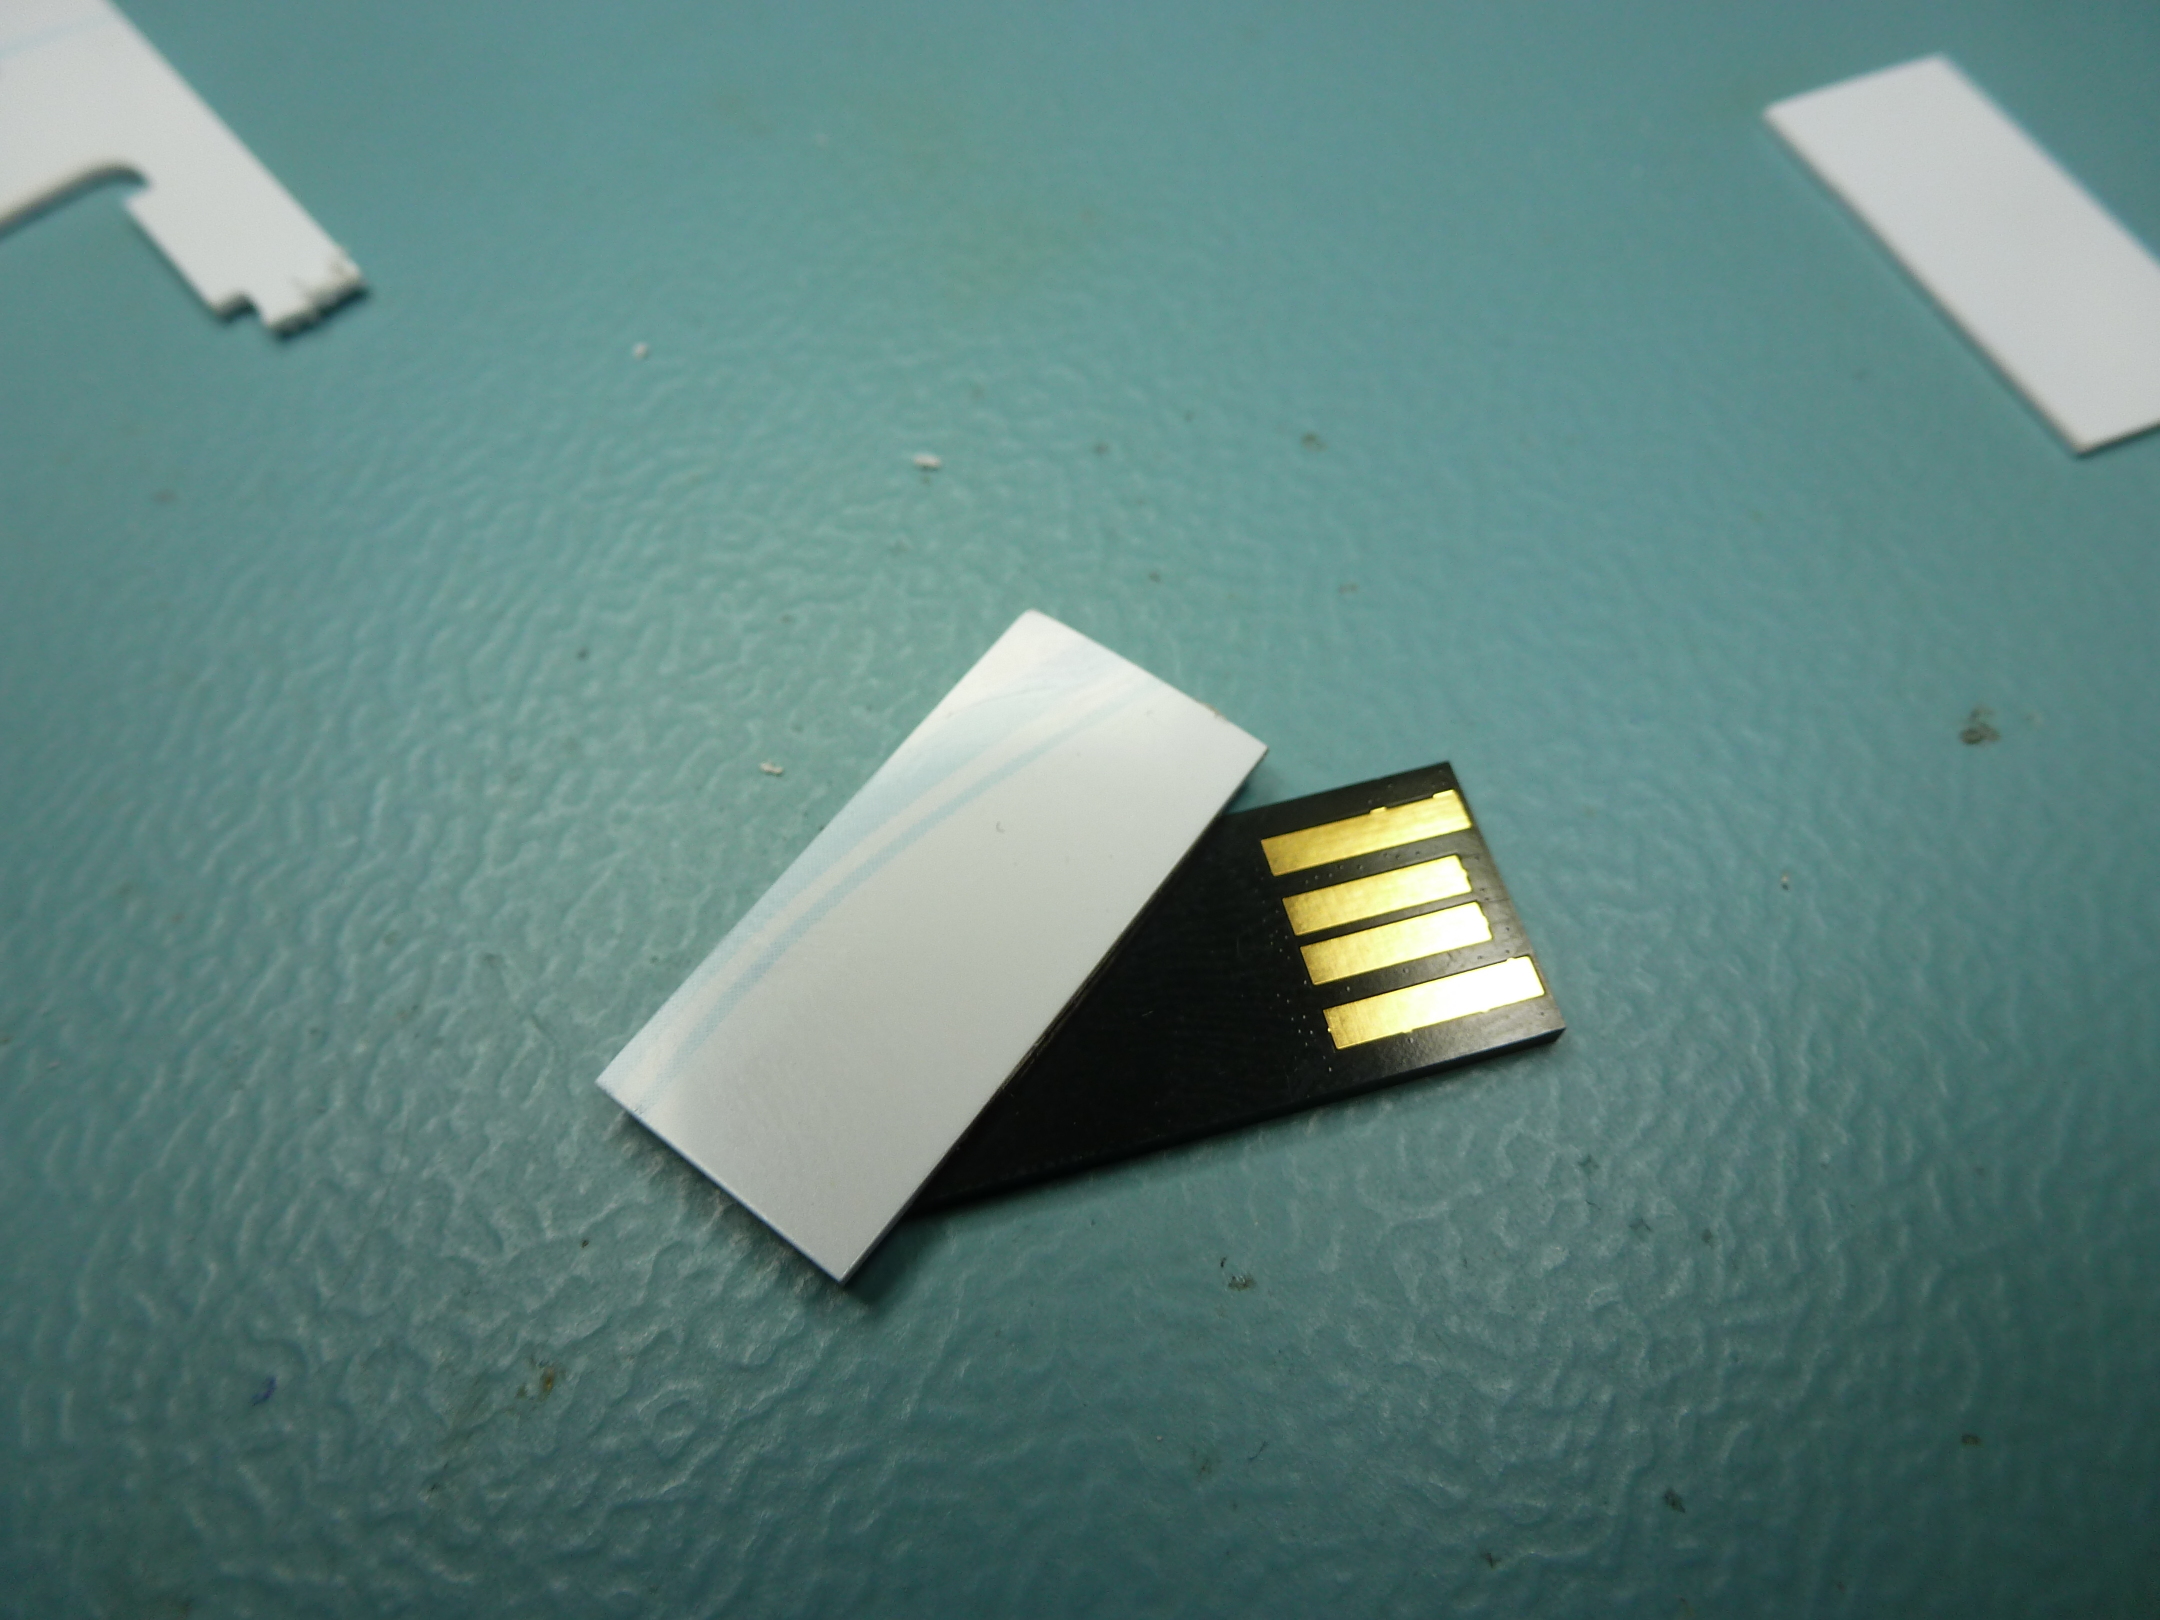
The most interesting thing about this pendrive is the Toshiba THNU38N00PH07 chip which is in fact an integrated USB flash disk (it's called UDP flash chip). Everything else is just junk.
When I realized I could have such a small pendrive, the first thing I did was to connect it to a USB port, but it was too slim and fell out. I measured the plastic case it was sitting in and it's 0.8mm thick.
If 0.8mm doesn't ring a bell, think about 0.030" - that's close enough and it's the thickness of a standard ISO/IEC 7810 plastic card. This also explains the presence of such a card in all the photos above.
Building the pendrive
So I cut out a rectangular piece of the card to glue it to the chip. Then I trimmed it to the right size very carefully. I attempted it two times and got a sensible result at the second attempt.
For cutting and grinding I used my Proxxon FBS 240/E drill set to the lowest RPM not to melt the plastic and one of the standard cutting disks which came with it.
The final thing to do was to glue the two pieces together. I used this glue for hard plastics by UHU. Gluing wasn't hard, I applied a drop of the glue, joined the pieces together, removed the excess glue and put the whole thing into a vice for a couple of minutes.
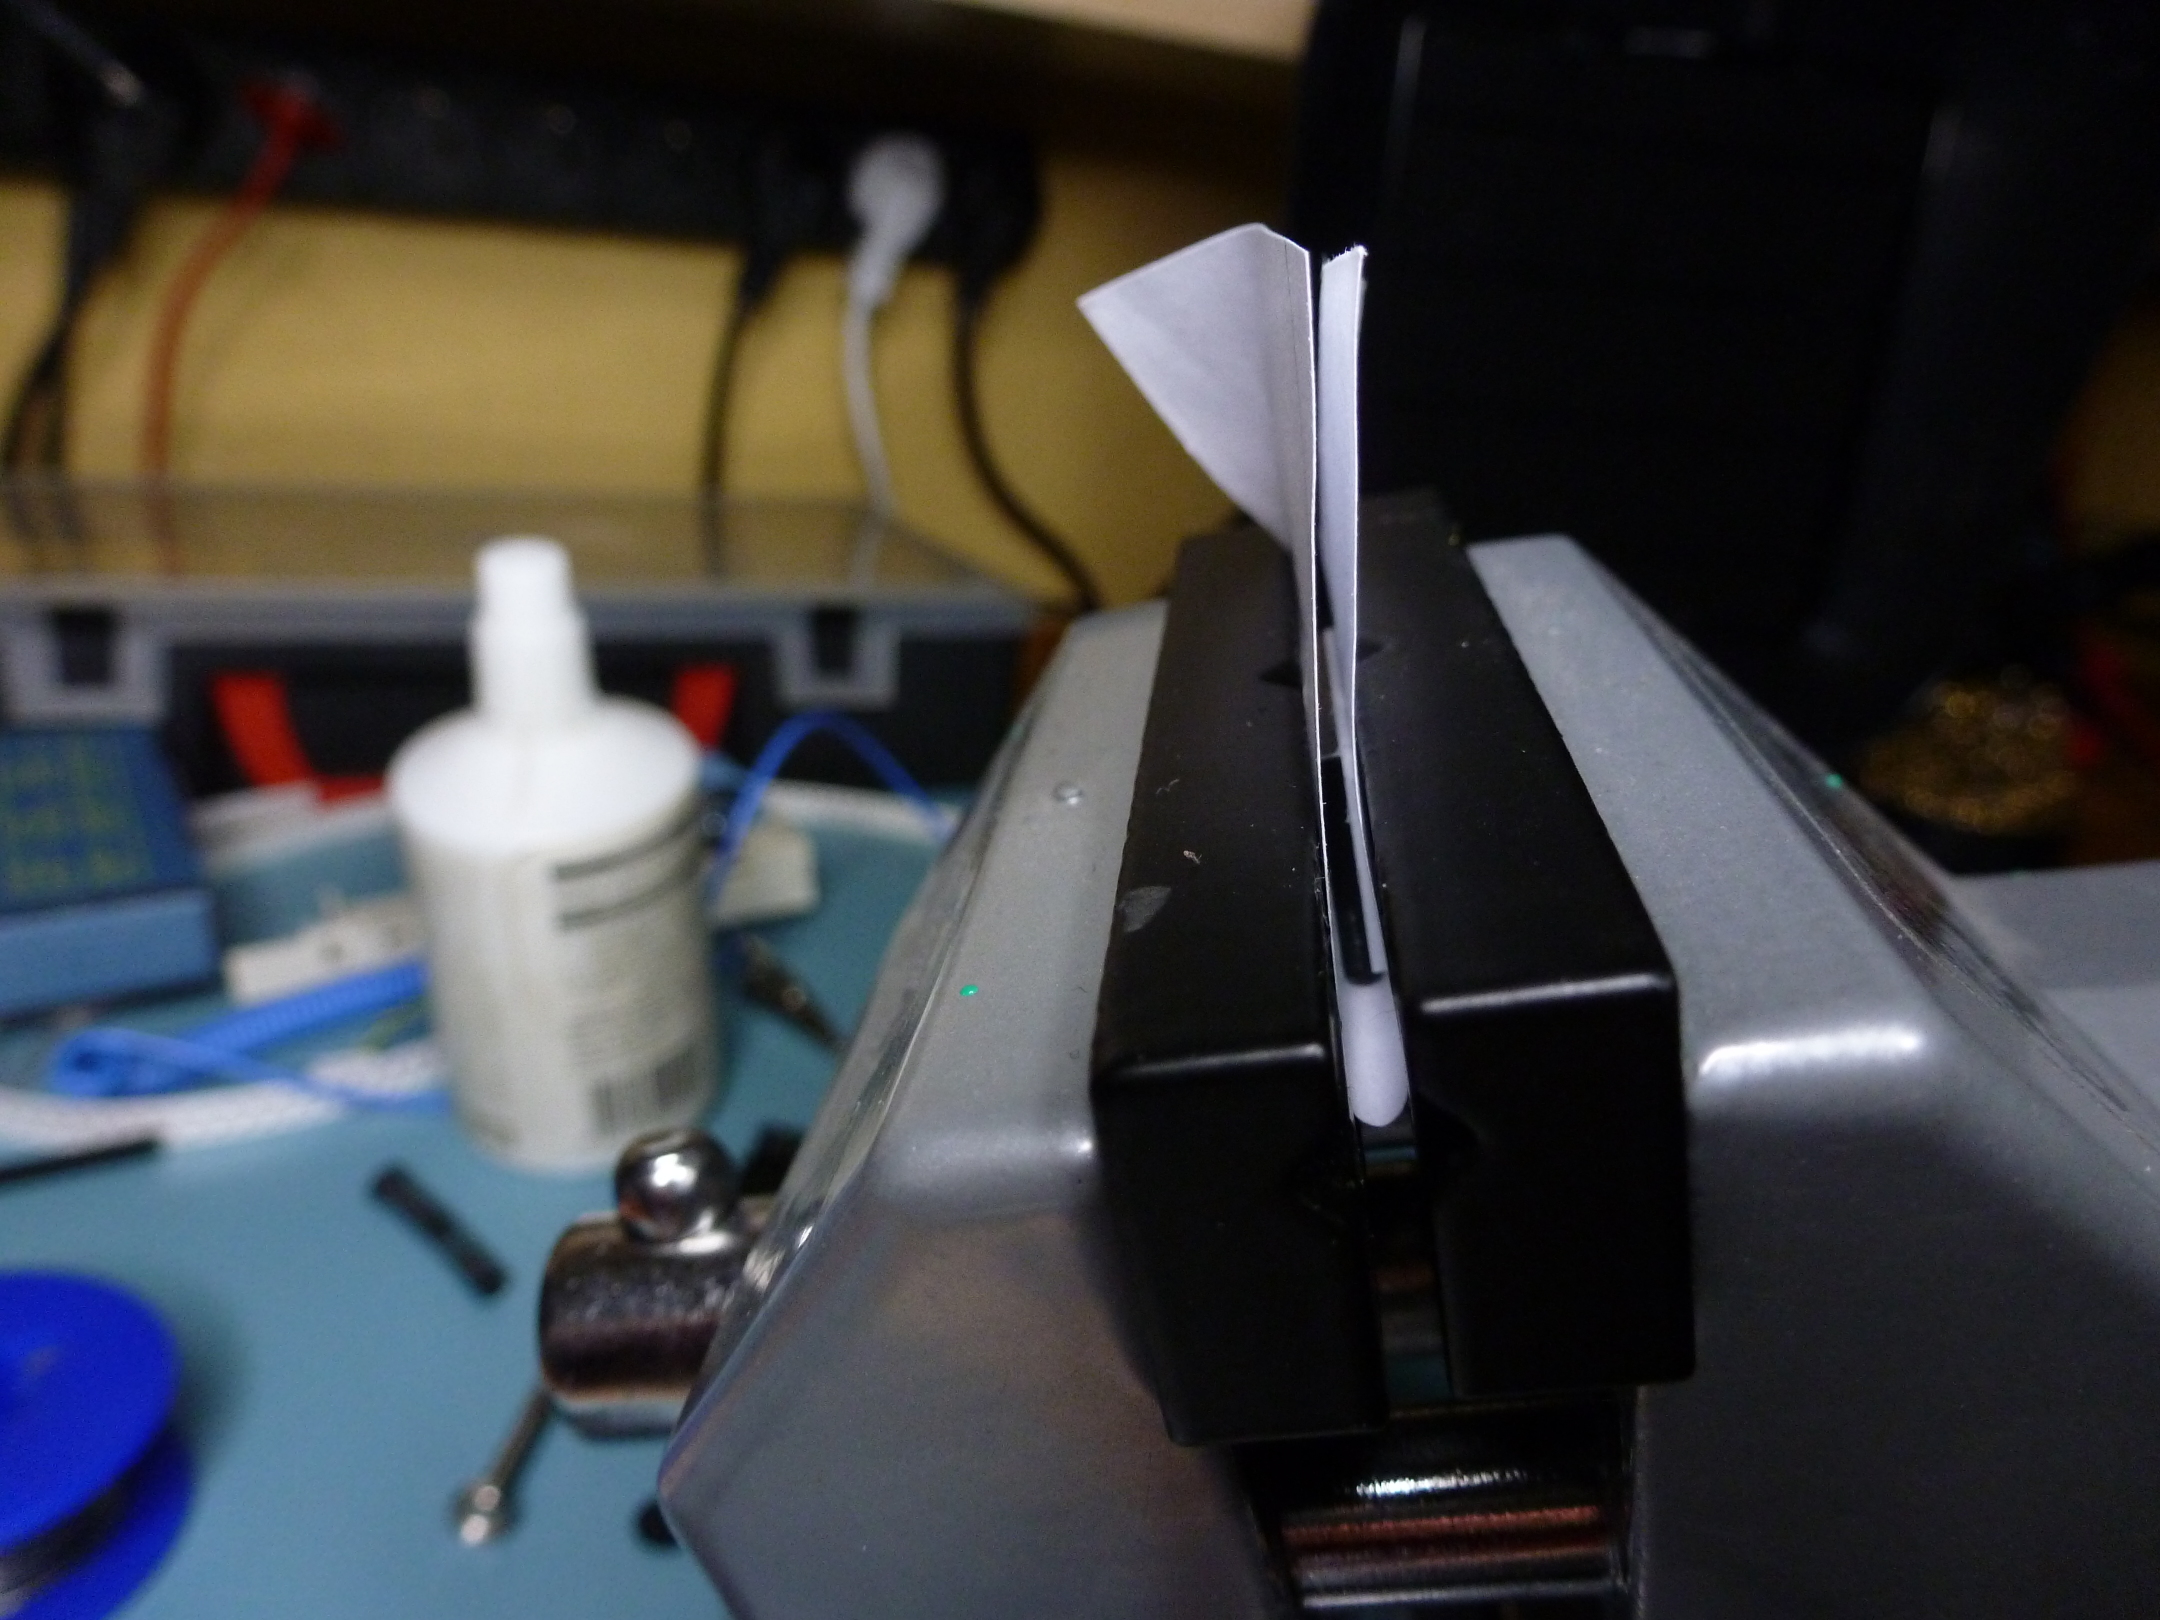
I wanted to avoid using superglue because it leaves very bad looking stains on everything and I wouldn't have had enough time to align the two surfaces with required precision. So far everything seems all right, but I'll see how the connection behaves in time.
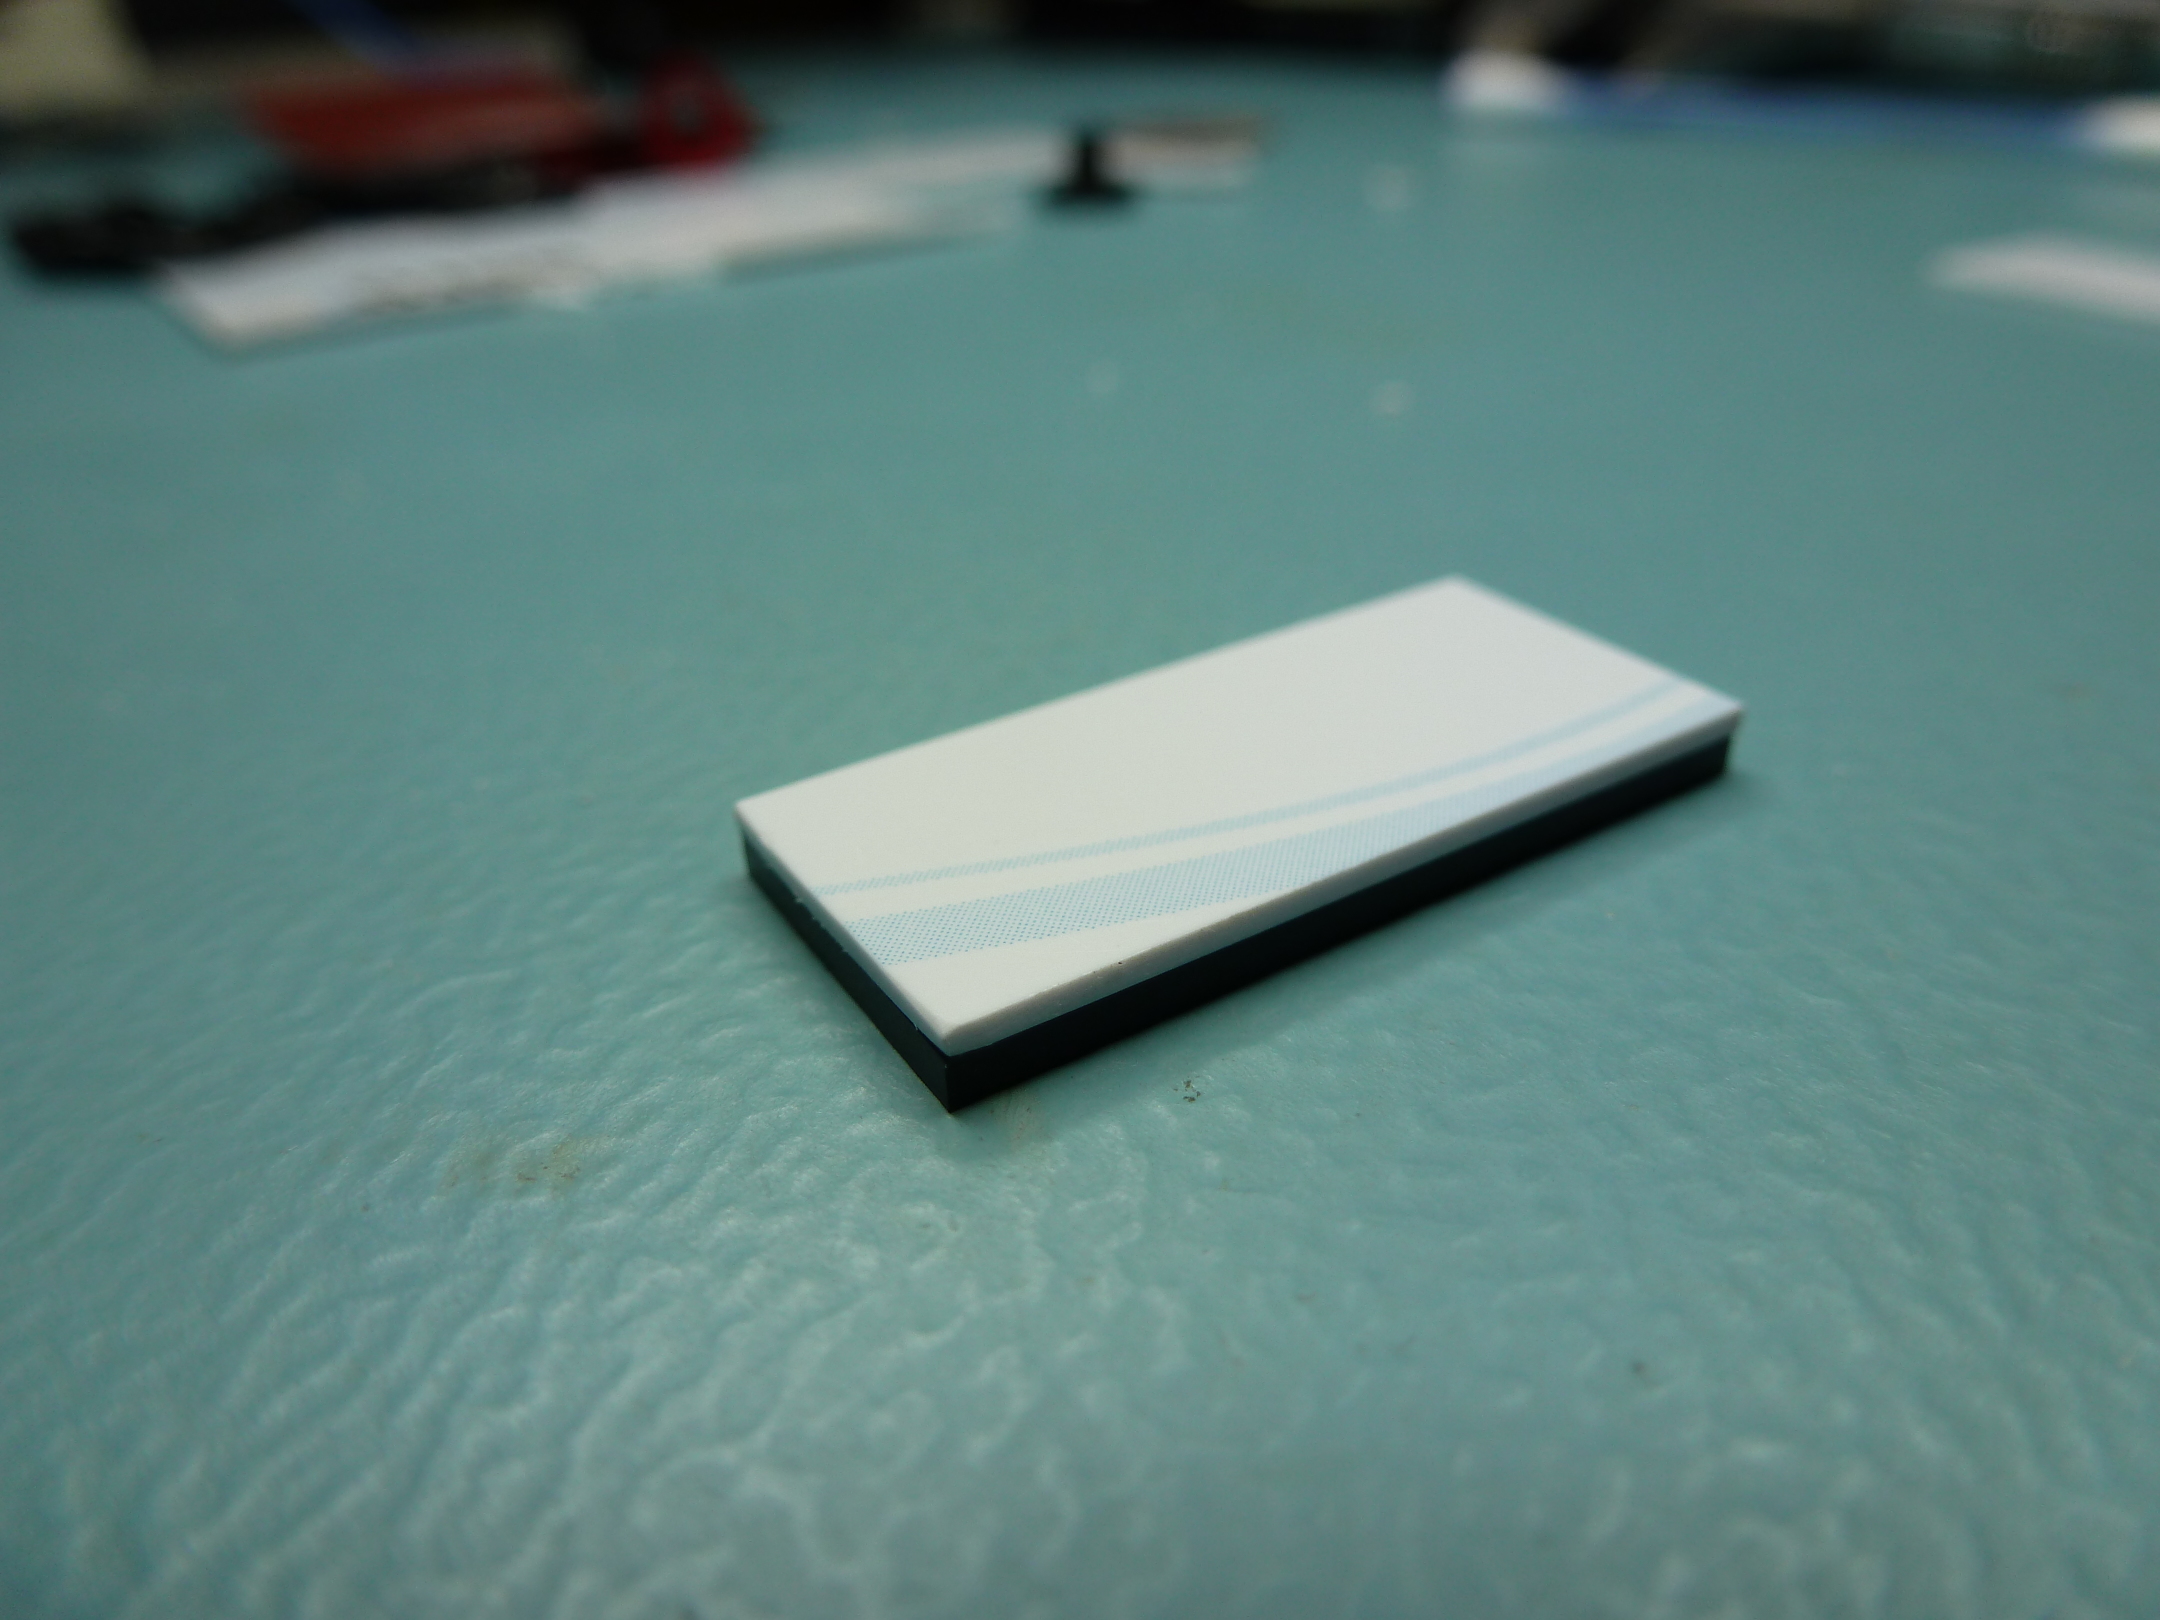
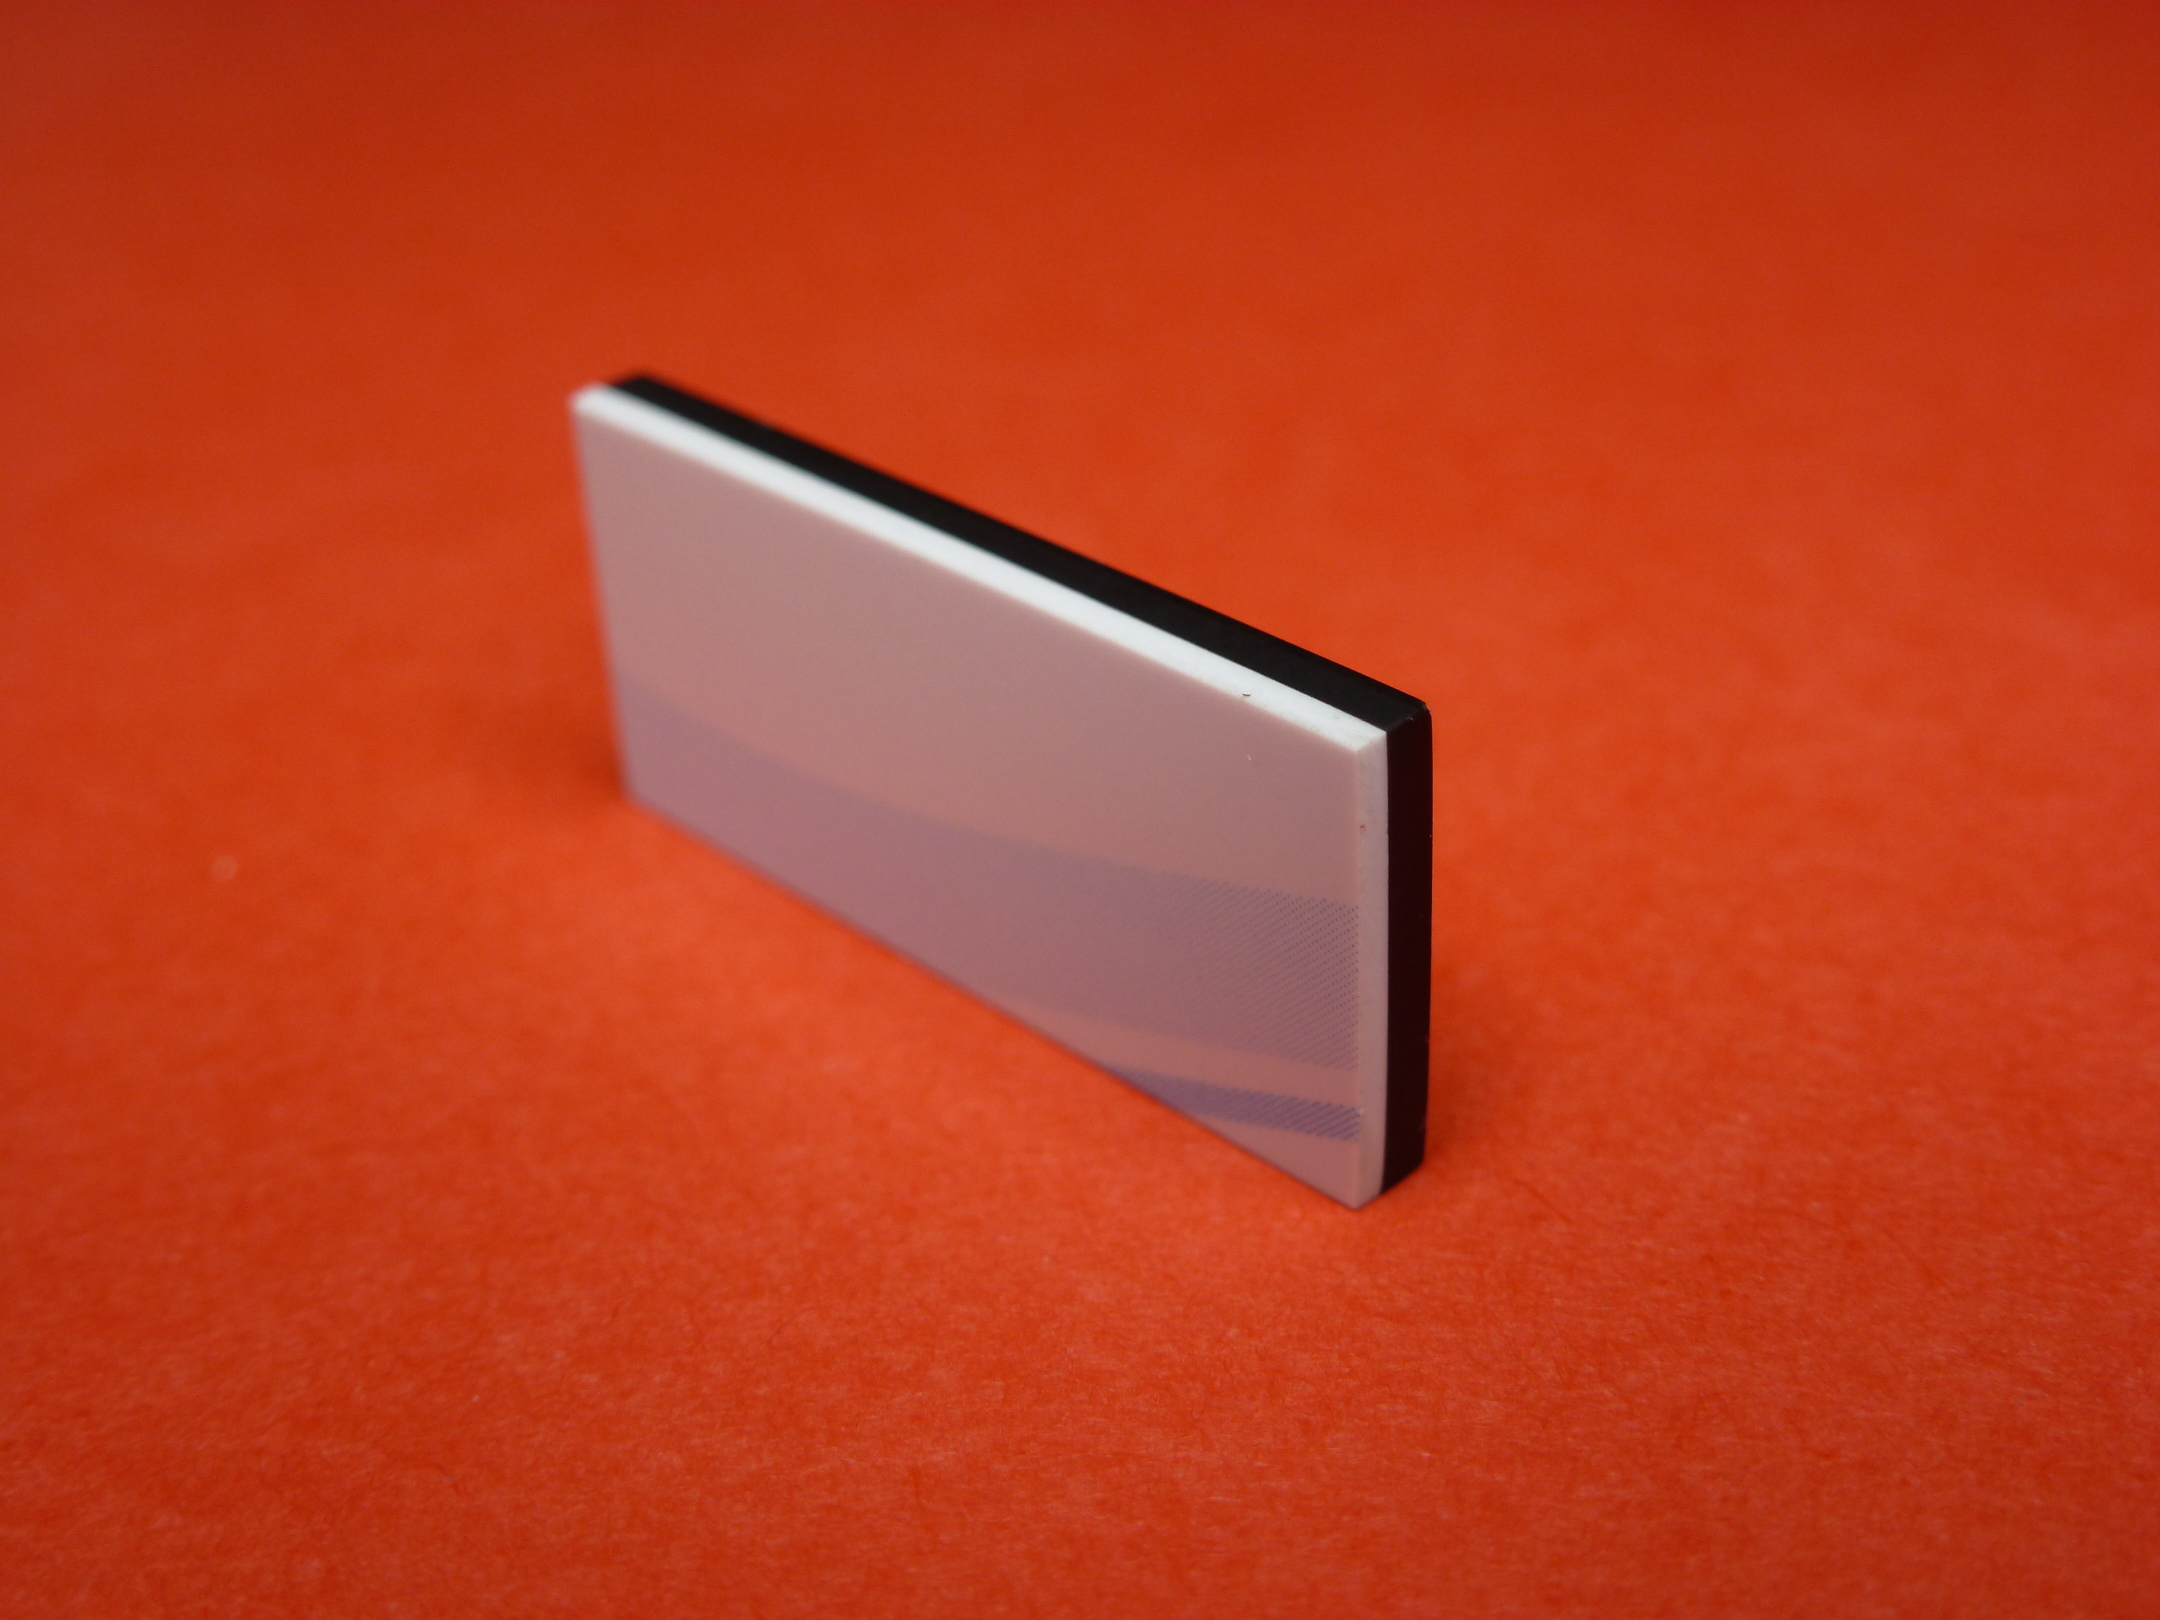
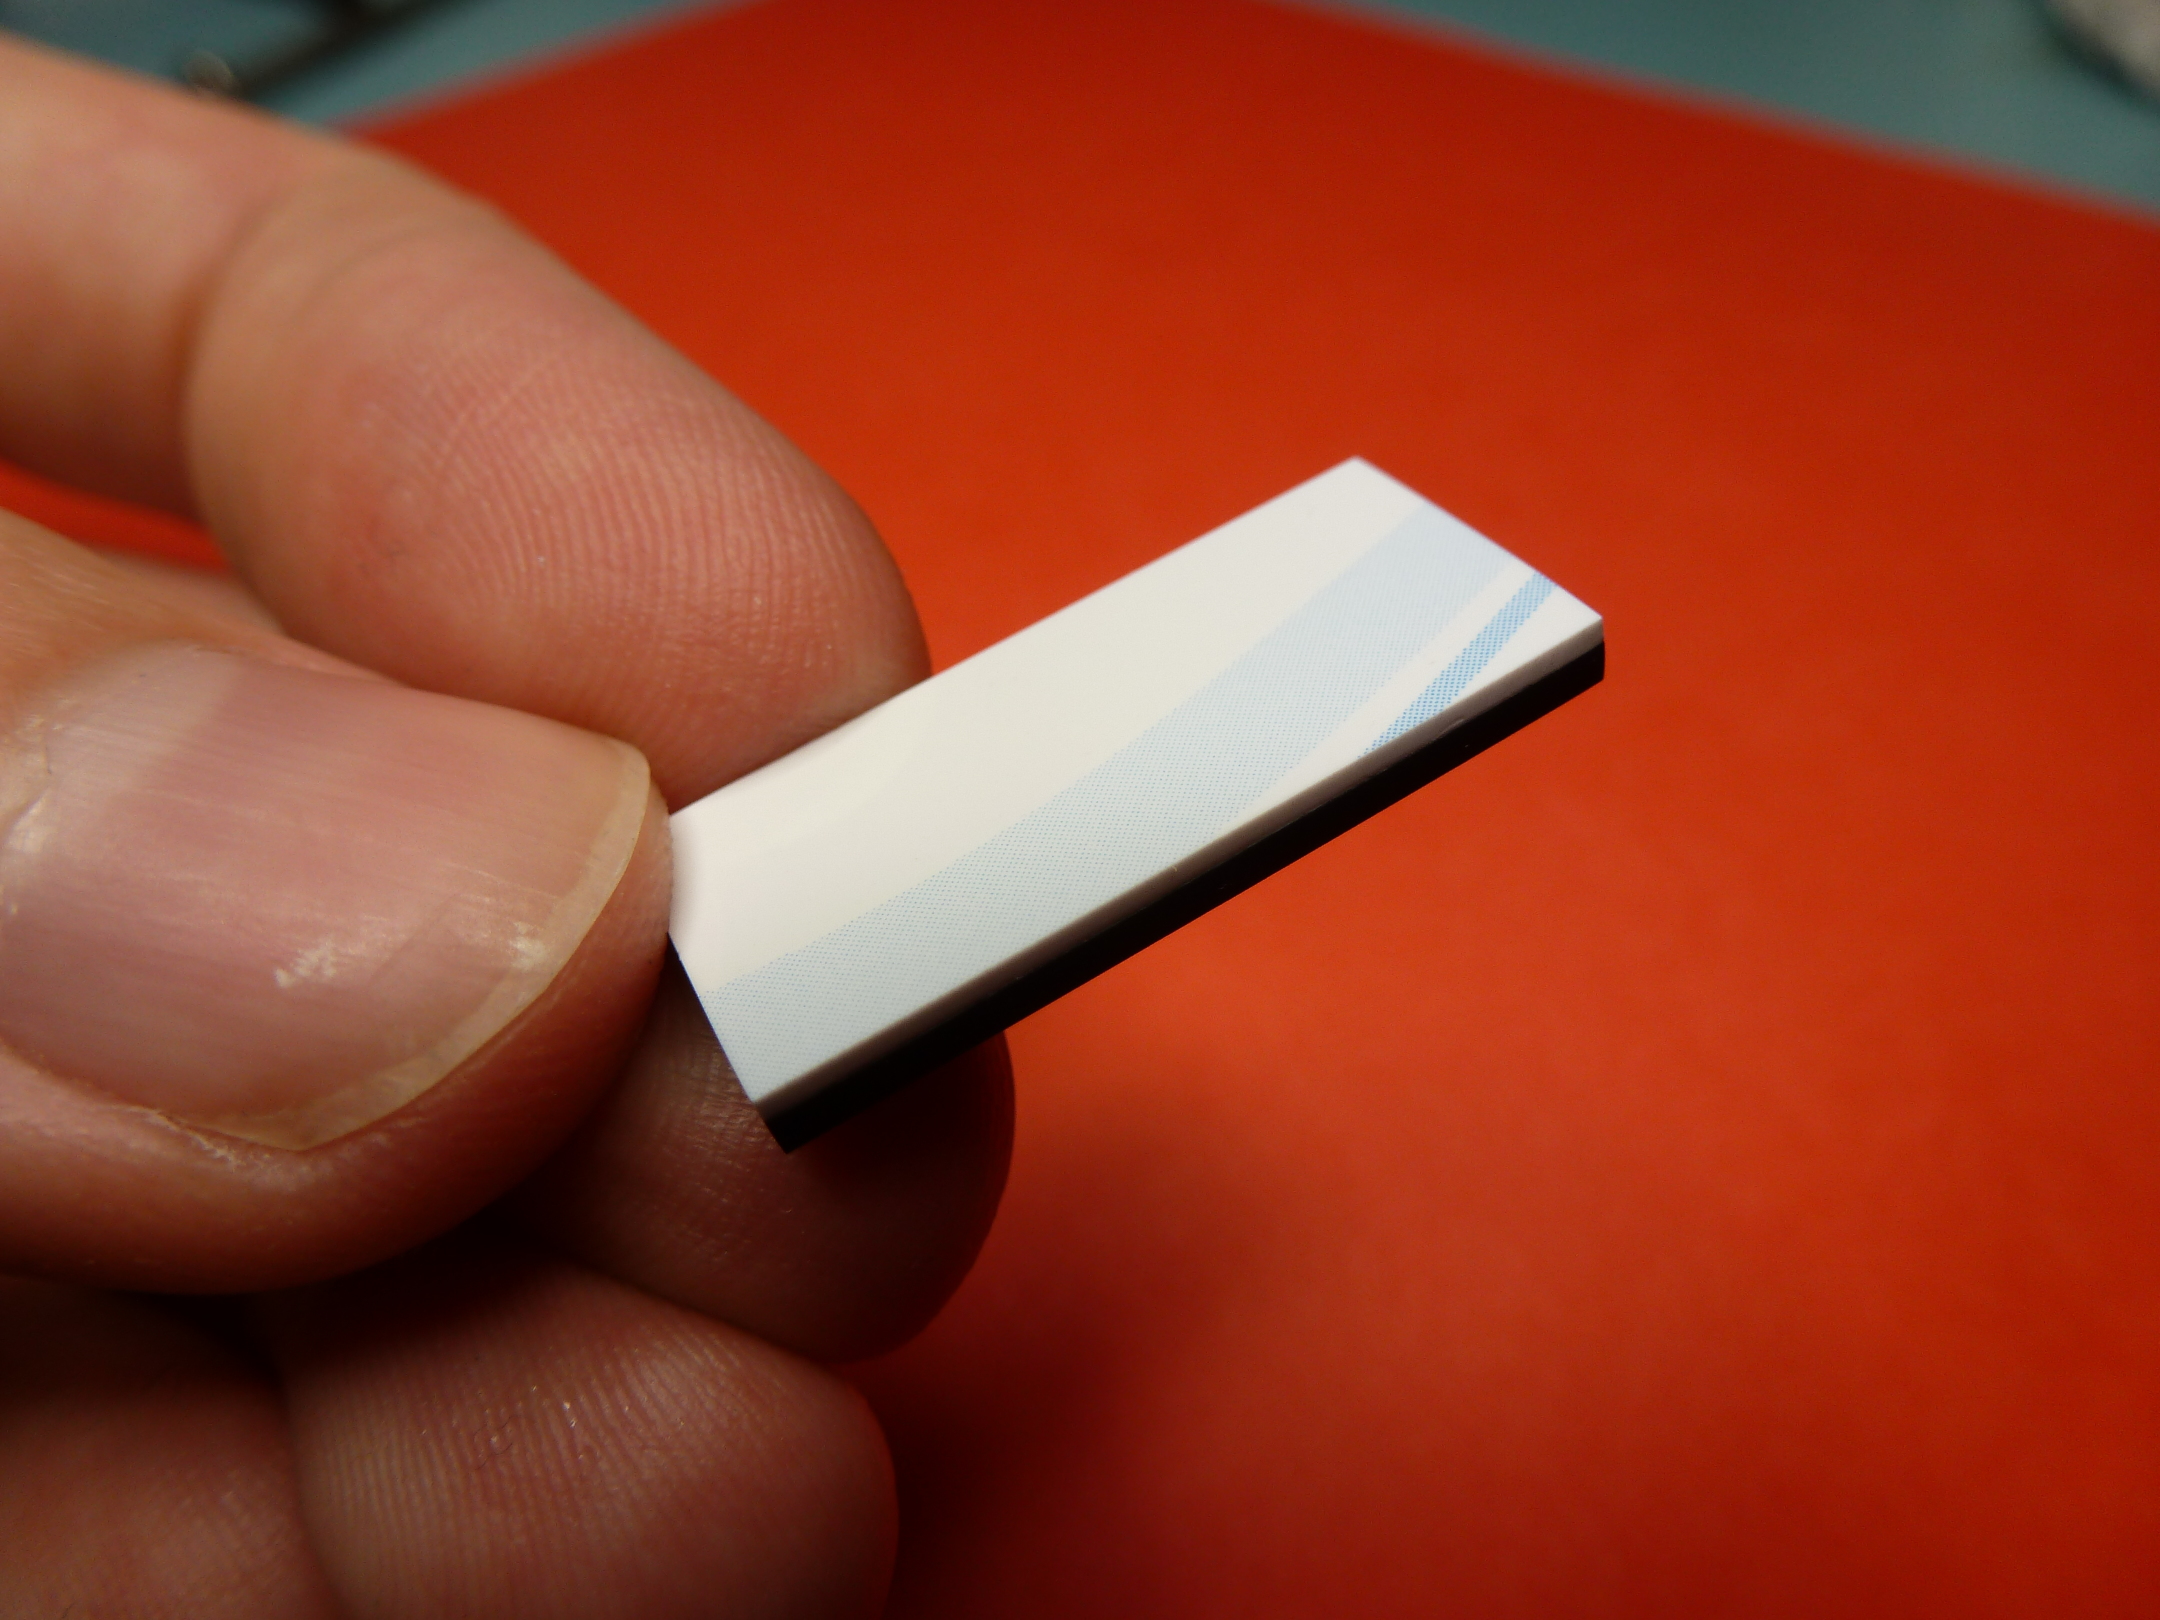
After gluing I went ahead and finished the surface first with 600 grit and then 1200 grit sandpaper and cleaned the device thoroughly.
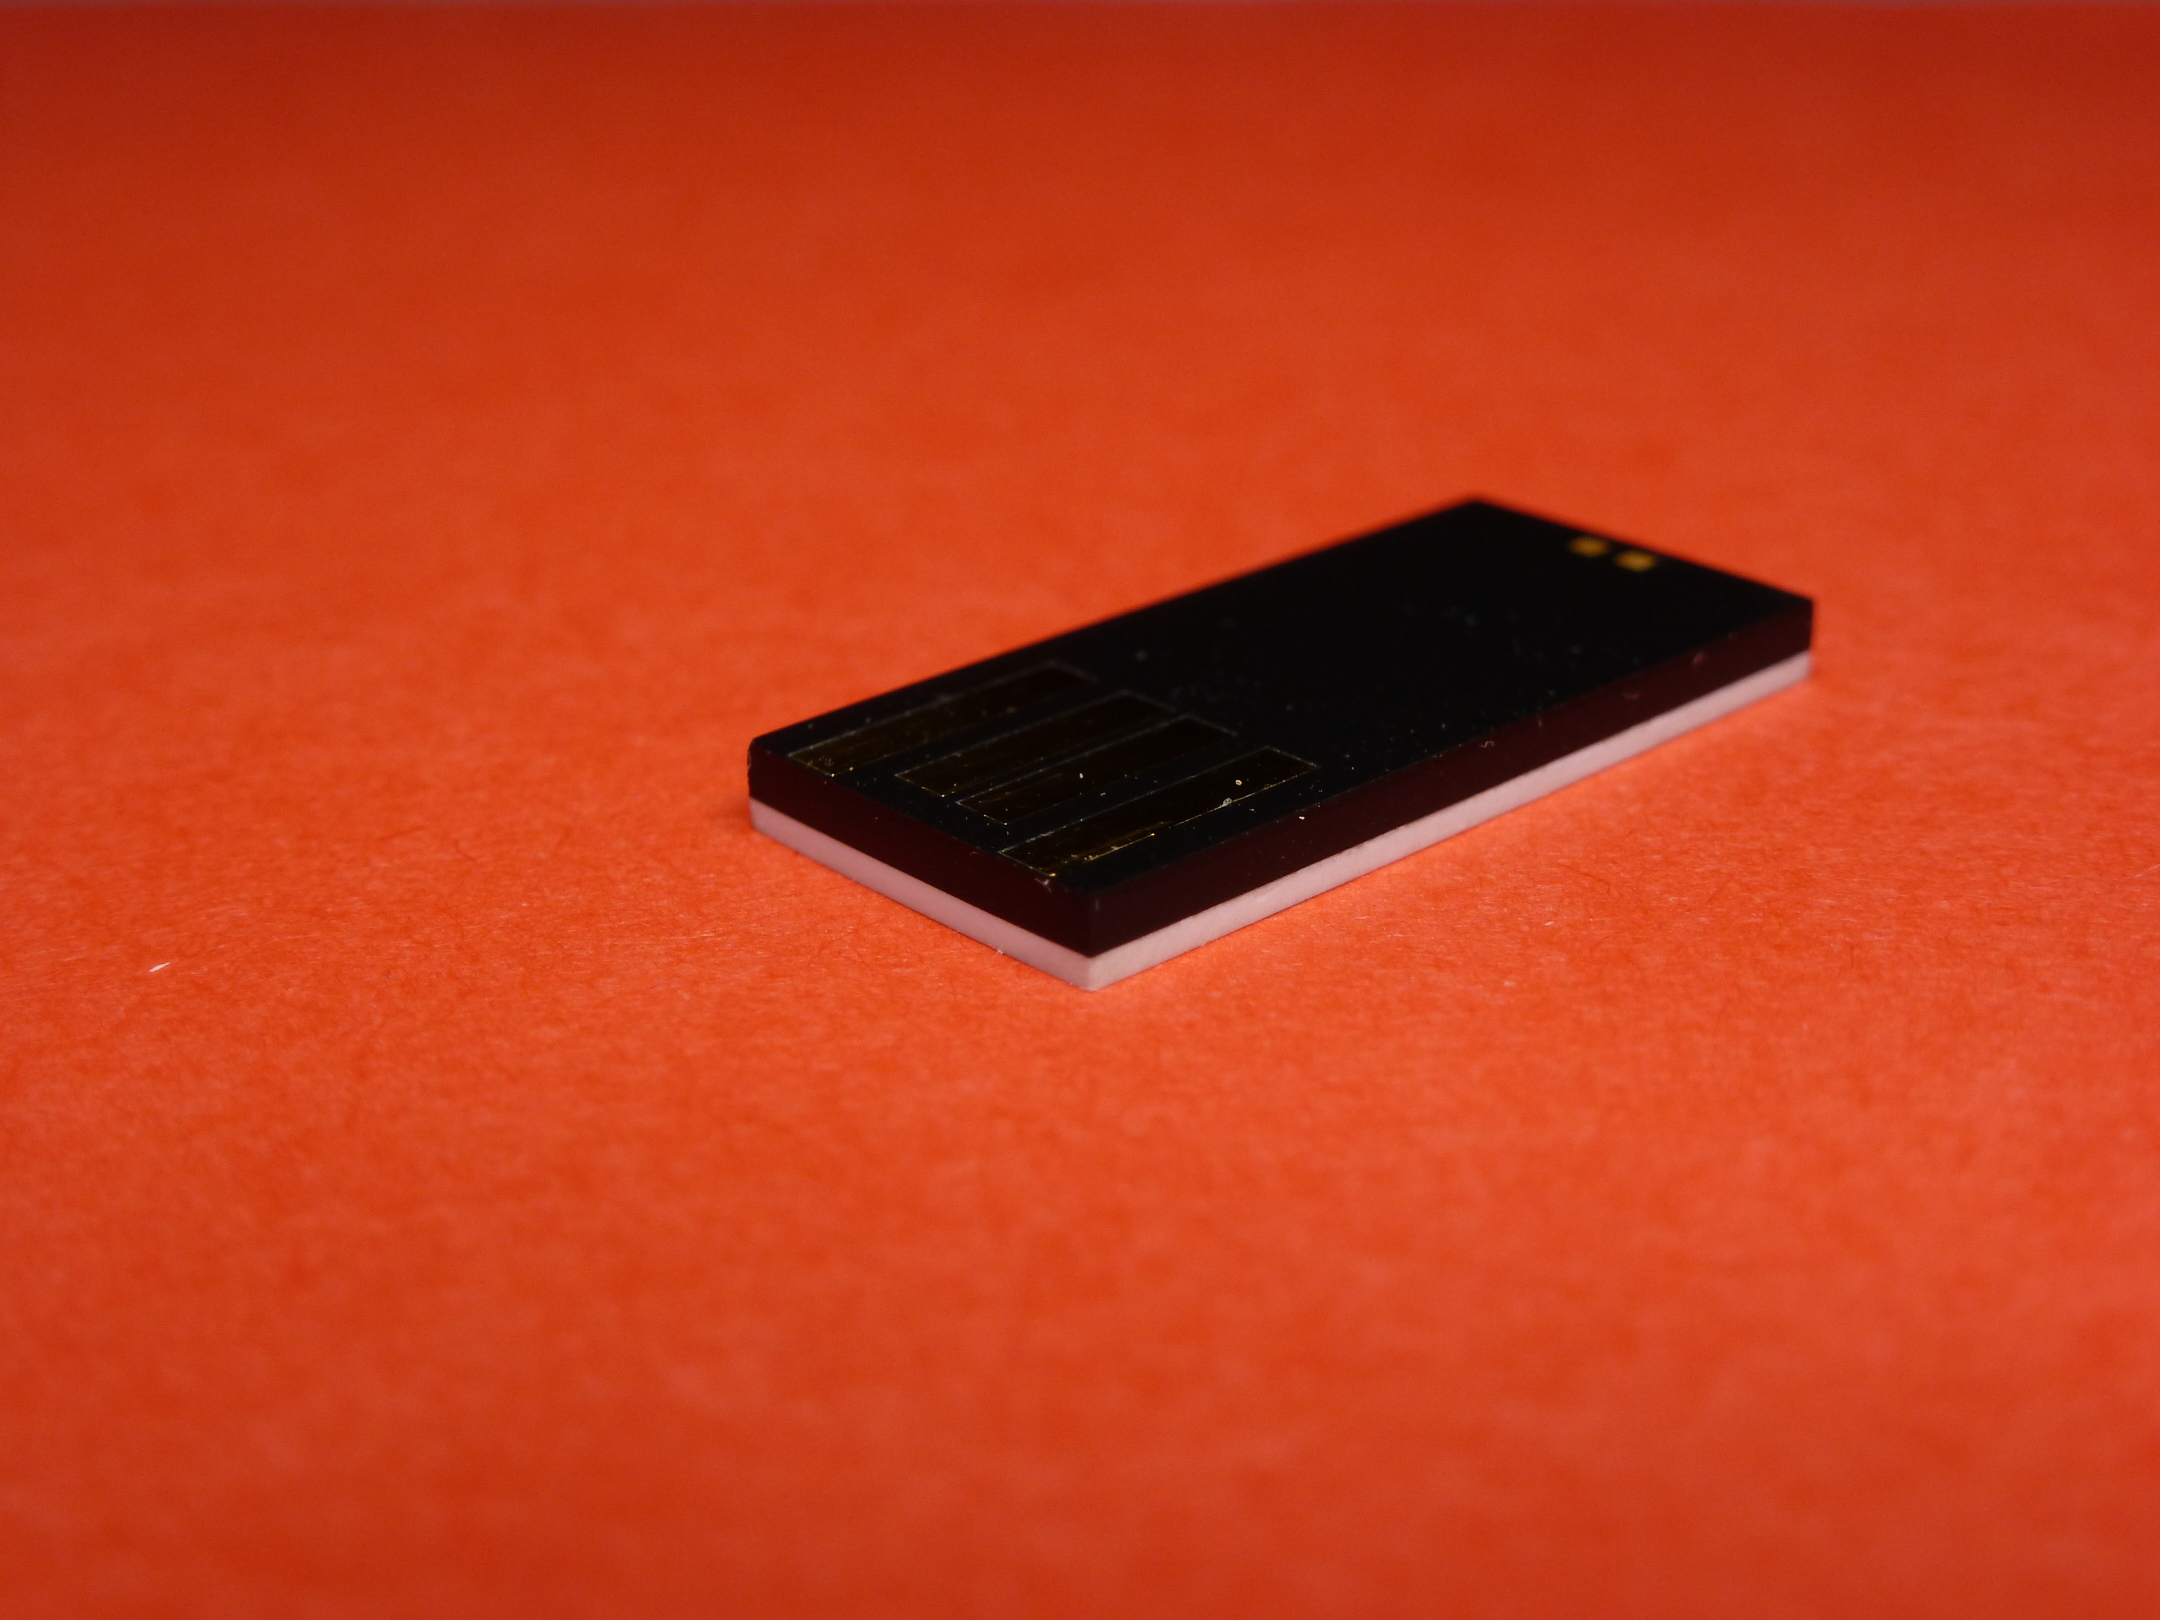
Here are some photos of the finished work. The final dimensions are 24.8 x 11.3 x 2.2mm and it weighs less than 2 grams.
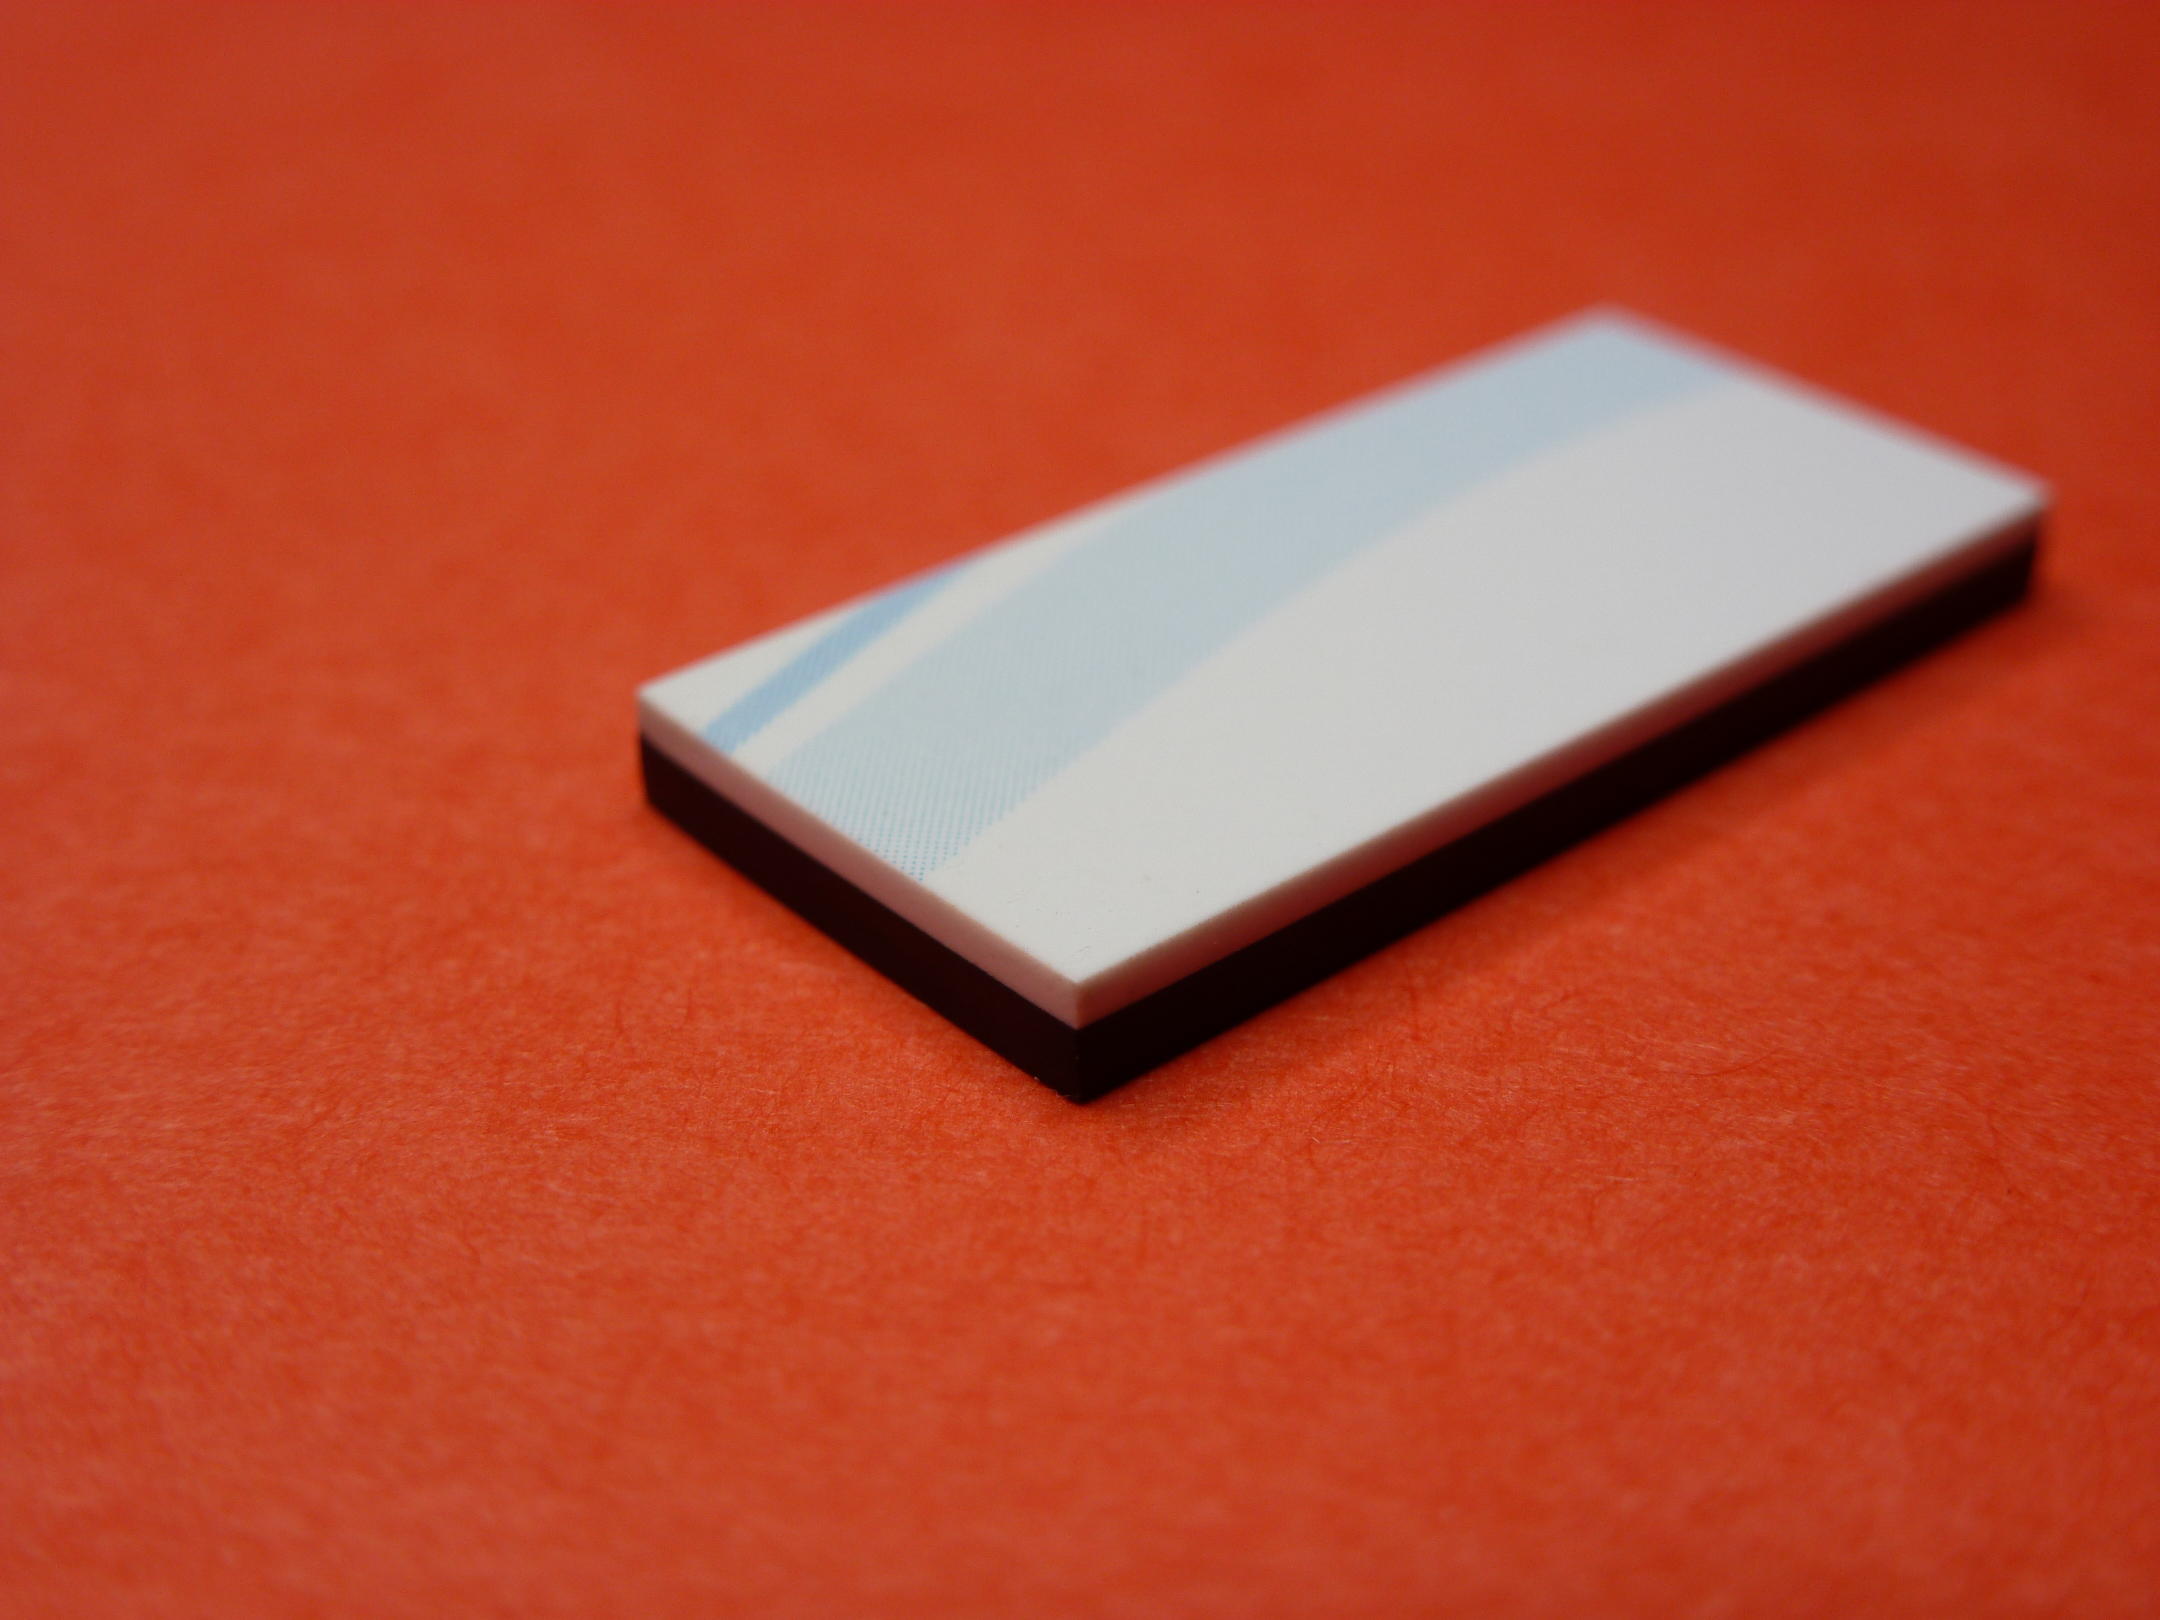
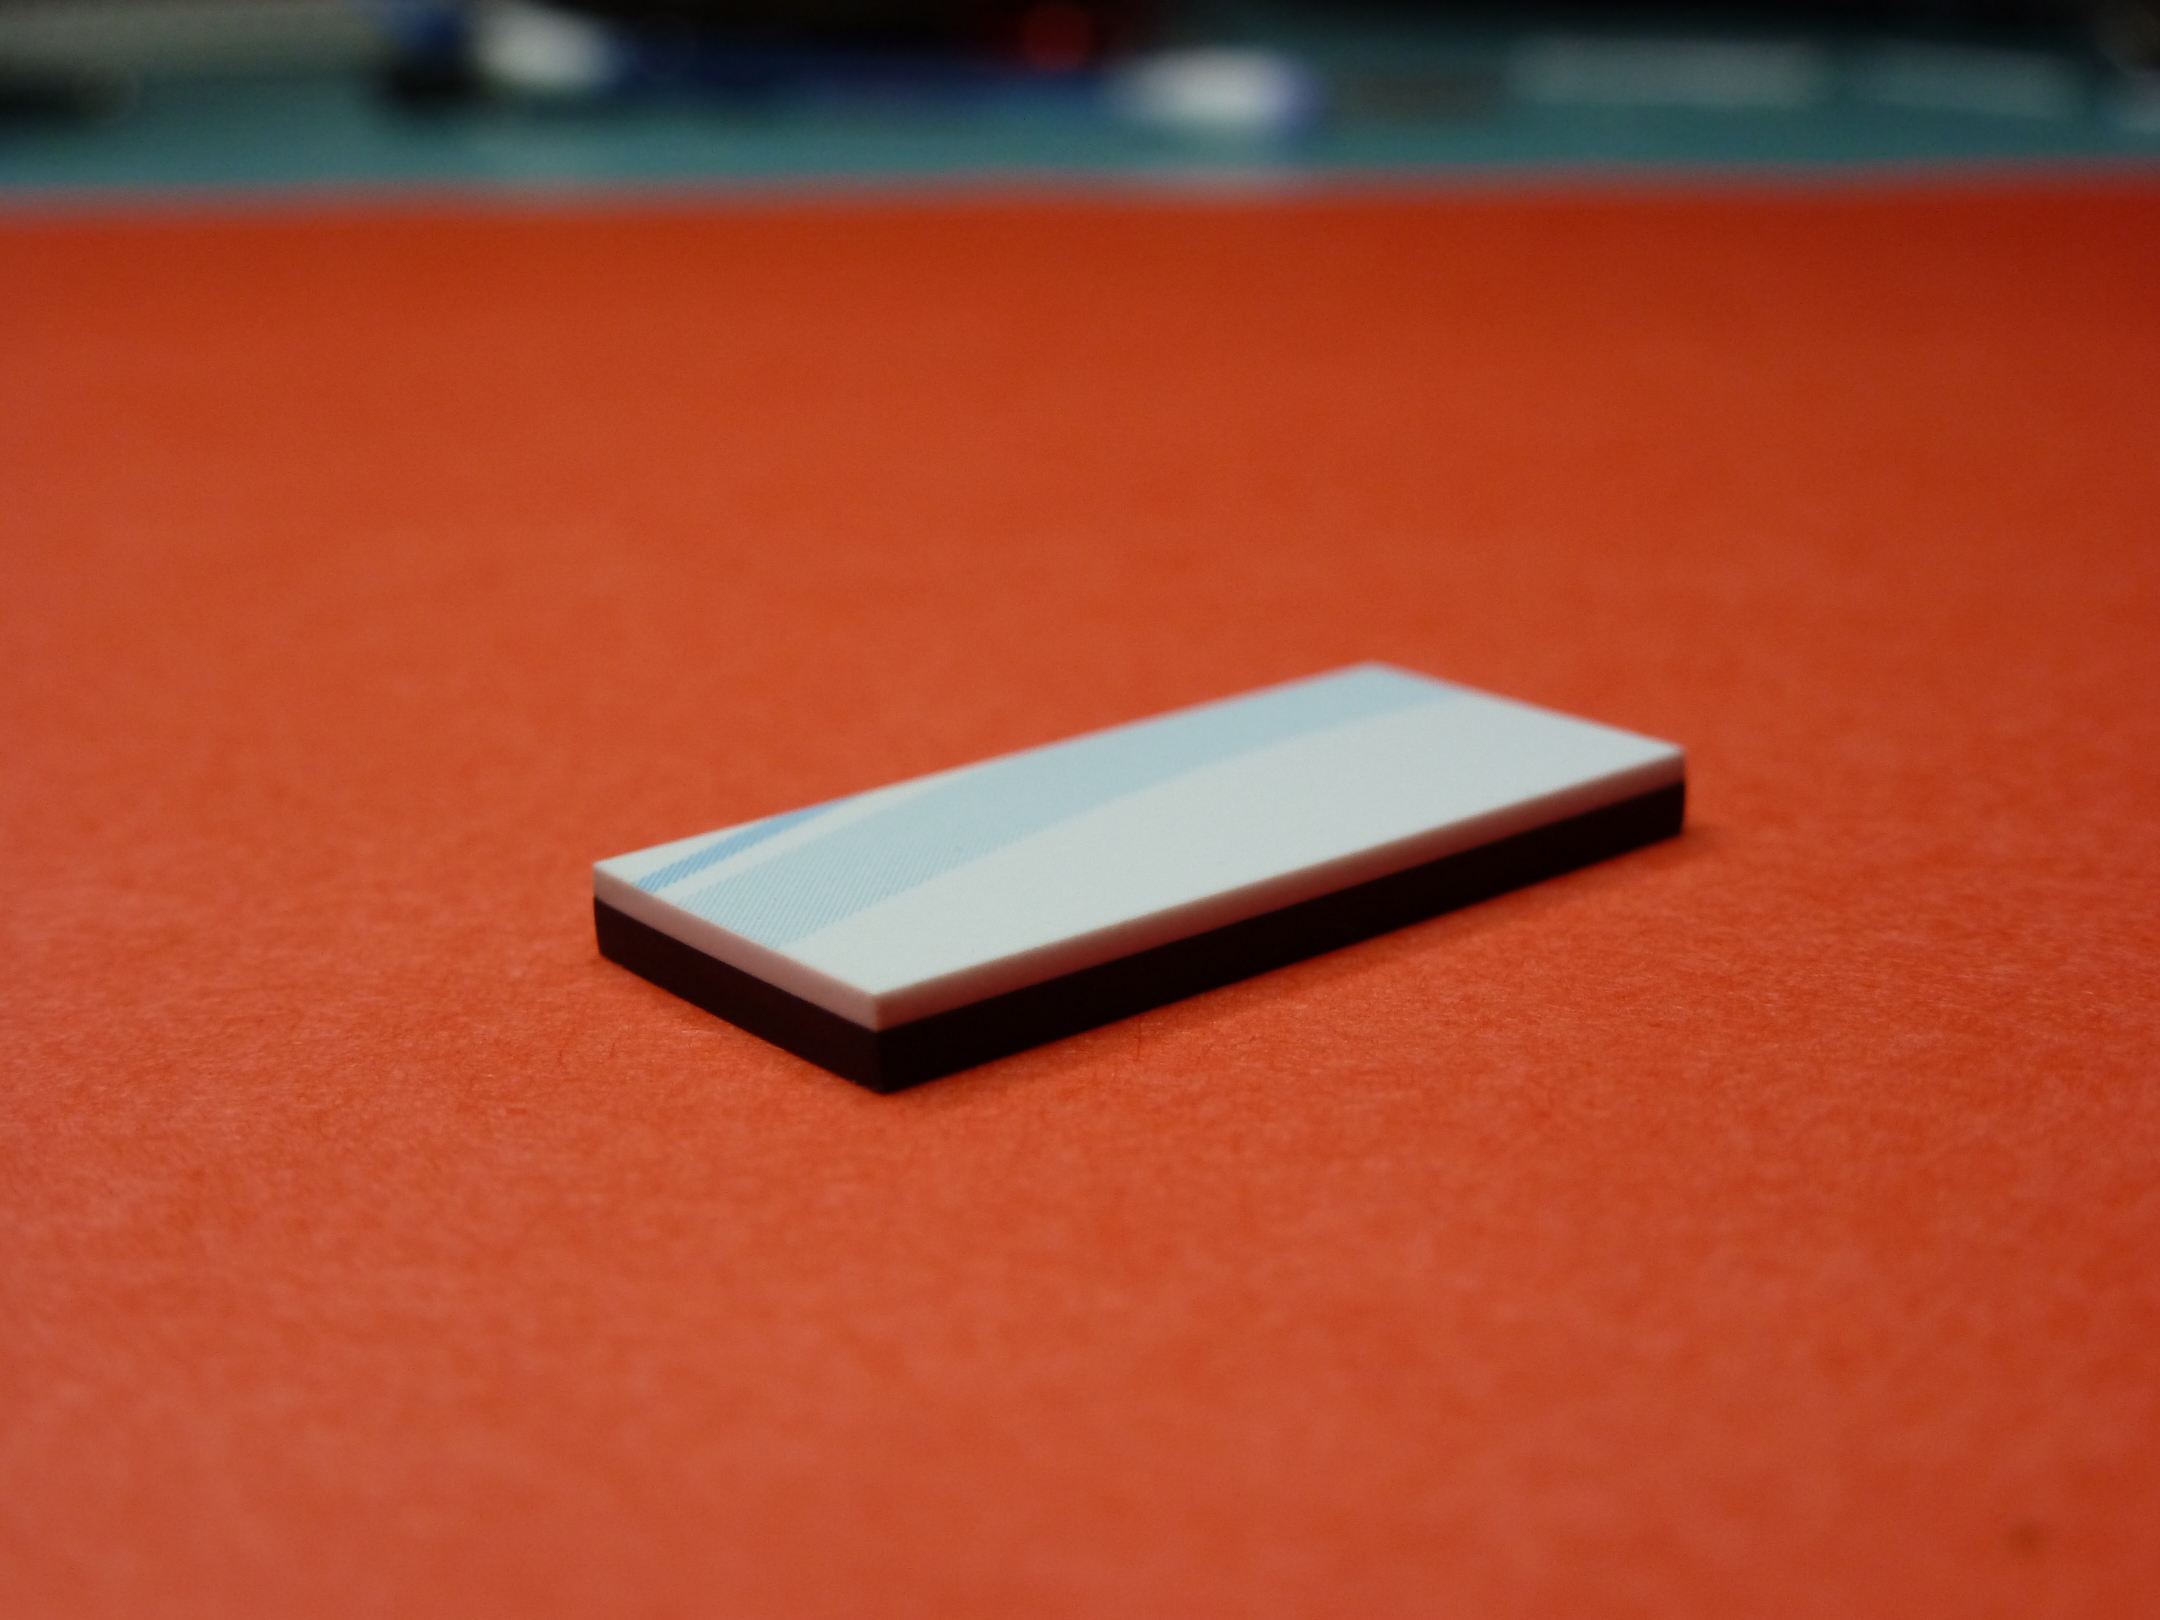


Well, as you can see, I didn't actually make a pendrive. Not that it's a problem with the availability of memory and microcontroller chips these days, but making something this small at home may be hard. Fortunately, you can use existing devices to make what you want with little effort.
Thanks mate its helpful.
Posts like this brighten up my day. Thanks for taking the time.
i have an idea regarding desing of pendrive we know that for acces of pen drive we compulsary need computer so we have to design in such a way that two pendrives should get connected and there should be something display on both pendrives so that desired file can get copied it may initial look heavy but we still modify it.......................... i need some help for it.can anyone give idea
hi i really interested in your idea,have you going further..i whould like to join with you,ping me ch.raghudeep@gmail.com
hi mounika,
i have been thinking abt it only,basic idea i got,it should have a screen to display,key pad to select,and interfacing hardware between two pen drives and screen and keypad.
so it will be cost more in providing all this,i think so.
please rply me when you see my comments,i would like to know the status.
where can i buy this "UDP flash chip" ? Can anyone suggest ??
You can try Alibaba and Aliexpress
I have lot of broken mouth SanDisk cruzer blade pendrive which can be retrofitted this method, thanks buddy;);););););)
OH!!! NICE IDEA I HAD ALSO CONSTRUCTED THE SAME IN MY HOME TOO
The USB didn´t had reconize for several PC, aparently don´t have a phisical damage, someone have an idea to solve this problem
I have a thought with respect to desing of pendrive we realize that for acces of pen drive we compulsary require PC so we need to outline so that two pendrives ought to get associated and there ought to be something show on both pendrives so wanted record can get replicated it might beginning look overwhelming yet despite everything we alter it.......................... I require some assistance for it.can anybody give thought