Back in the times when users and vendors actually cared for their input devices, there were some great keyboards in the market, which were not only designed to last, but actually made to withstand even very harsh conditions. Good quality plastics, mechanical switches, good electrical and mechanical design practices and lasting keycaps and their legends are just some of the great advantages of vintage keyboards.
I've collected vintage keyboards for some time already and I've learnt to appreciate their quality and the history behind them. Some of them I use regularly and some I own just for their historical value, but even with so many of them I'm always happy to get another one, especially if I can get it so cheap.
Exterior
The model I got has an ISO layout with rather non-standard additional characters by current standards and ALPS Orange tactile non-clicky switches. It comes with a detachable DIN cable.
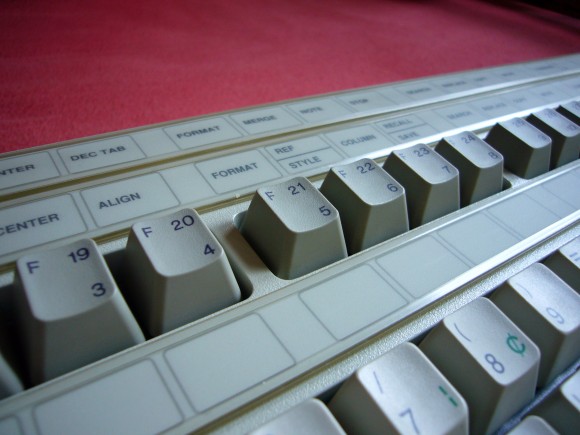
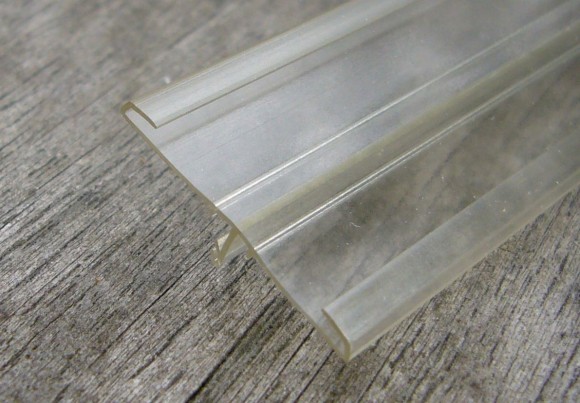
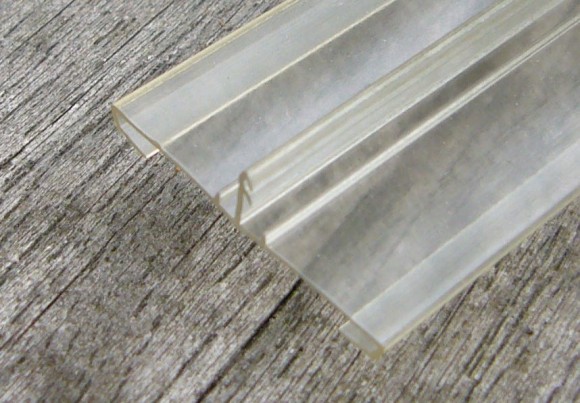
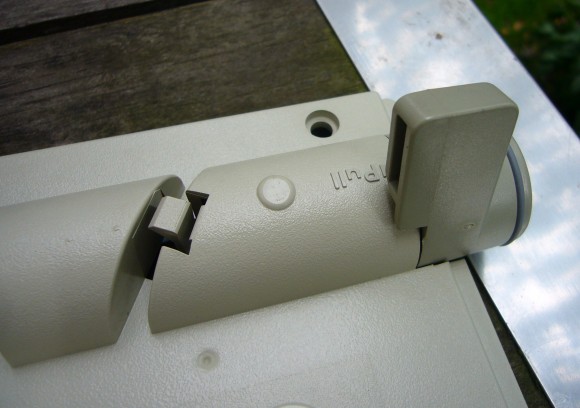
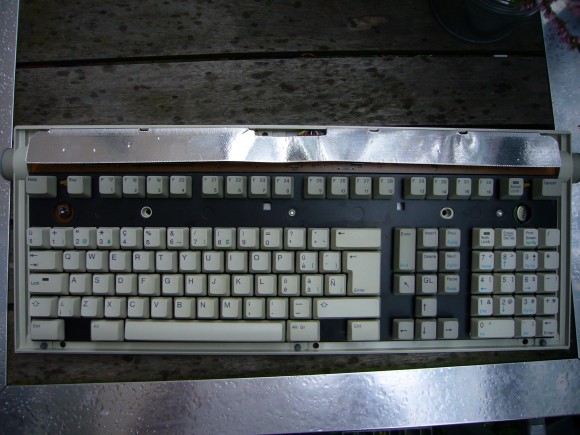
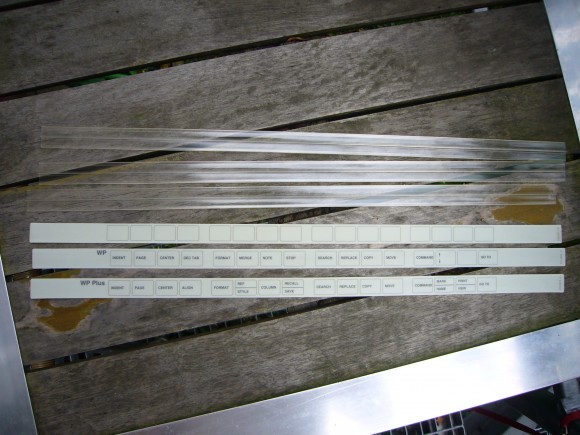
The keyboard is clearly designed to either support text processing or function-key shortcuts for various programs. It comes with two bars of extra labels described WP and WP Plus and one empty bar, probably so that the user can add their own descriptions. I assume this has something to do with Word Perfect and the shortcuts written on the bars seem to confirm that. In the pictures above you can see that the rails are detachable and pretty simple in construction.
This means that the keyboard was either sold with these as a "Word Perfect" keyboard or offered a variety of such labels for various software.
The sliding labels are made of a flimsy plastic or plastic-coated paper. They slide into plastic rails, which in turn are attached to the top part of the case with a plastic slot.
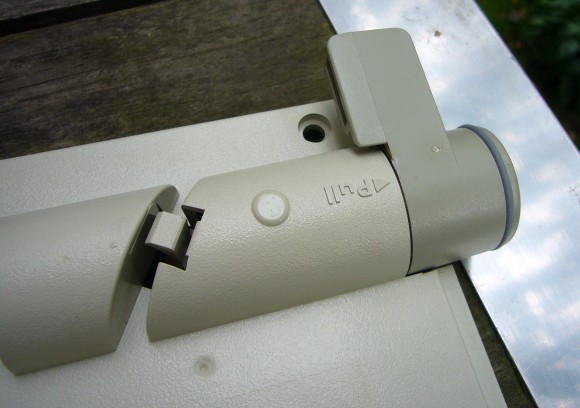
The keyboard also has very well designed feet that offer three positions which can be changed by pulling them out and rotating. Unfortunately, it came to me without one of the rubber rings, not such a big deal.
You can also see the cable channels near the feet. They're angled at 45 degrees, not a bad idea at all and they actually have nice mechanical clips for the cable. I haven't seen such a well designed case in any keyboard so far.
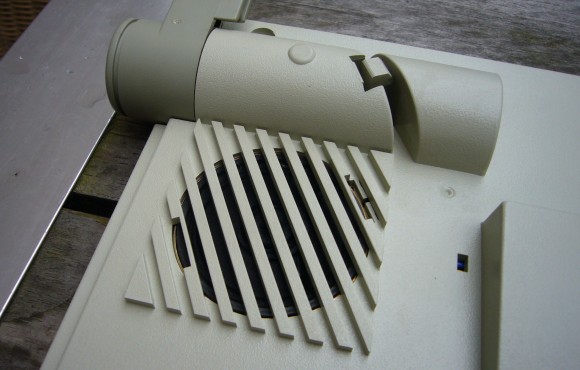 Interestingly, the keyboard also features a speaker, which makes click-like sounds while typing and a volume control pot. I'm not sure about this, but I think there's no way to control the speaker from a PC, it's rather internal to the keyboard. I didn't manage to find a way to switch it off though, the best you can do is to turn the volume down, which makes it barely audible.
Interior
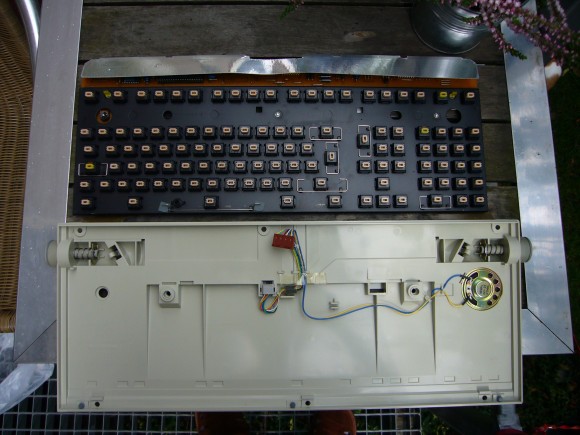
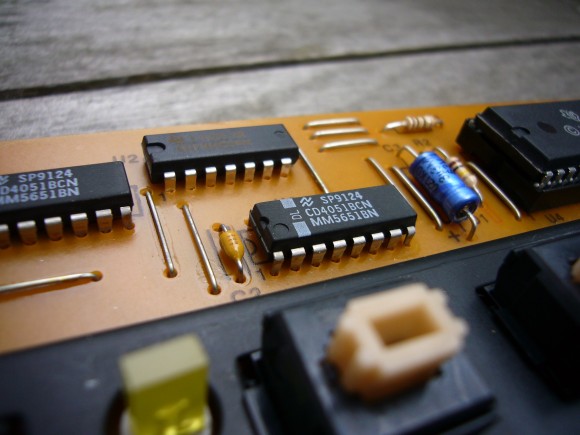
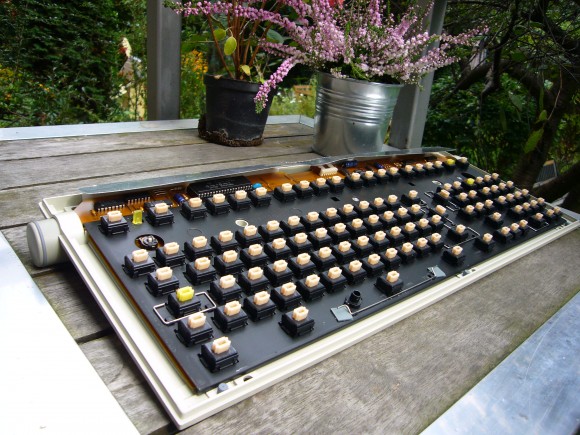 When it comes to the guts of this device, it gets even better. After removing the top part of the case and the keycaps, you can see the PCB with the metal plate and a whole lot of ALPS switches. Strangely, three of them have a different colored stem and I think they actually feel a bit different.
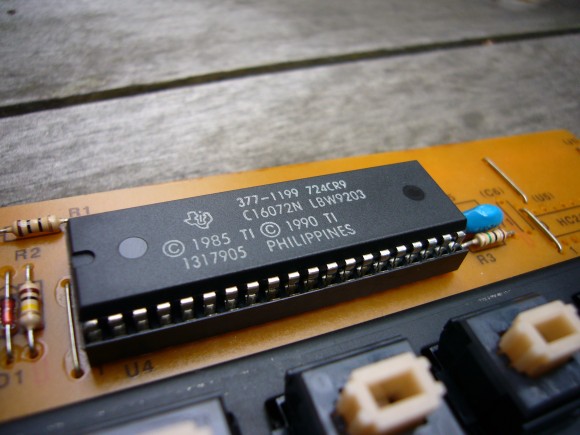
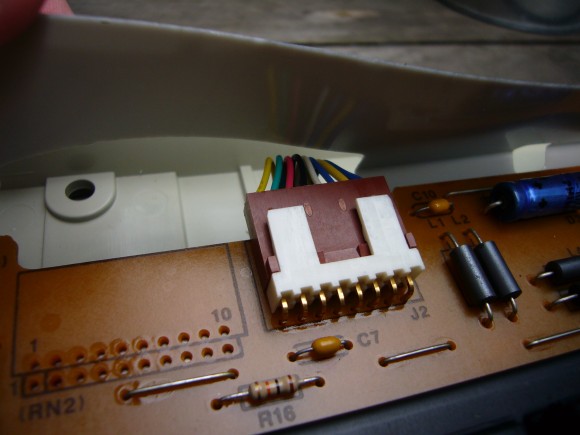
Looking further you can see how much effort has been put into this design. The PCB is connected to the bottom part of the case (which has a 6p6c socket and the speaker) with one common detachable connector. After disconnecting it, it's possible to take the whole PCB+plate construction out of the case.
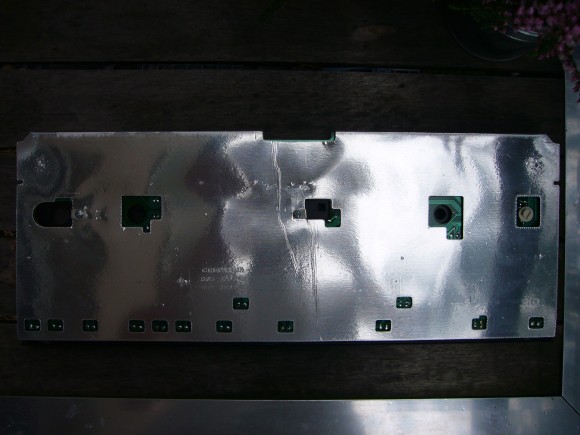
As in many vintage keyboards, the internals are shielded with a very nice thick shield which has a sheet of aluminium on one side and some plasticky material on the other.
The care for details and quality of this product is amazing.
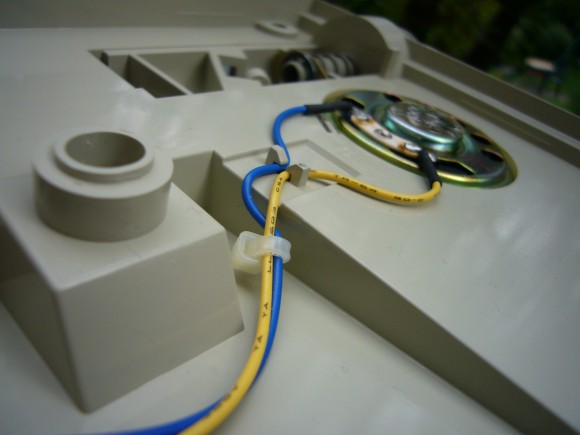
The wiring that comes from the cable connector has a ferrite bead and is nicely mounted into slots in the lower part of the case. They didn't forget to wrap all six wires together and stick them to the case with a piece of tape, which being 20 years old, doesn't really work that well anymore.
The wires that go to the speaker are even strapped and then heat-shrunk very close to the solder joints. Even the speaker recess deserves some respect - look at the tiny clips on the left of the speaker, molded into the case.
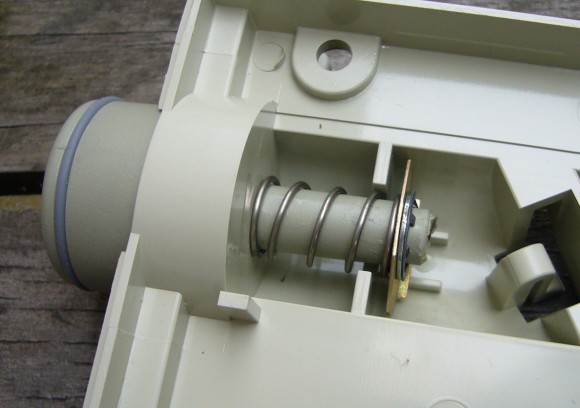
The feet mechanisms are simple yet well-designed. The feet are easy to set to the right position, firm and sturdy. They have rubber rings around them, for better grip, though one of them is missing on my keyboard.
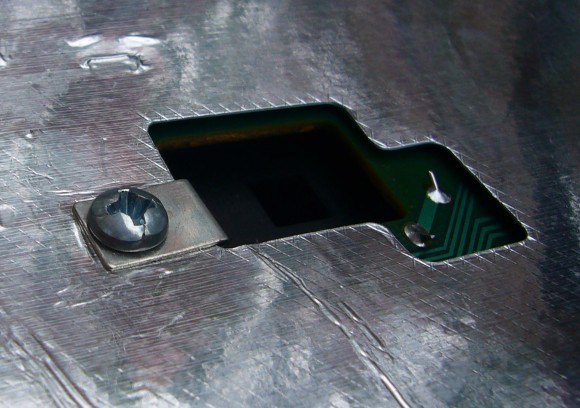
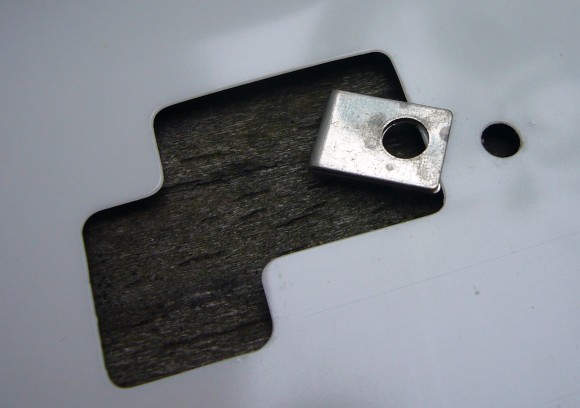
But that's not the end of good engineering. Though I have seen shielded keyboard designs many times, they were nowhere near as good as this one. Not that this matters at all for EMI protection or durability, but the designers of this piece of equipment, instead of just using simple bolts, actually designed a system of mounting the shield to the board.
You can see that in order to limit the stress on the delicate shield, it's attached to the board with a metal clip which protects it from friction of the screw on one side and the PCB on the other.
Keycaps
The keycaps are rather high-quality standard ALPS dyesubs, pretty common in this sort of hardware. They look nearly unused, they still have a nice rough texture and aren't shiny at all. Caps lock, scroll lock and num lock are windowed and have rectangular LEDs under them.
There are a total of three colors used: black, blue and green and some of the keys have labels in two colors, black and blue or black and green.
The layout is pretty interesting as well, especially in the block above the arrows and numpad. This is not similar to anything I've seen before. A 45-degree arrow, "GL" key and a couple more non-standard keys make this layout pretty unique and unfortunately I don't know what these keys were used for.
Summary
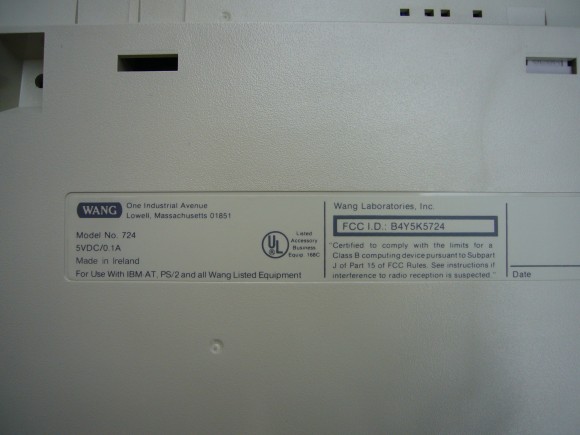
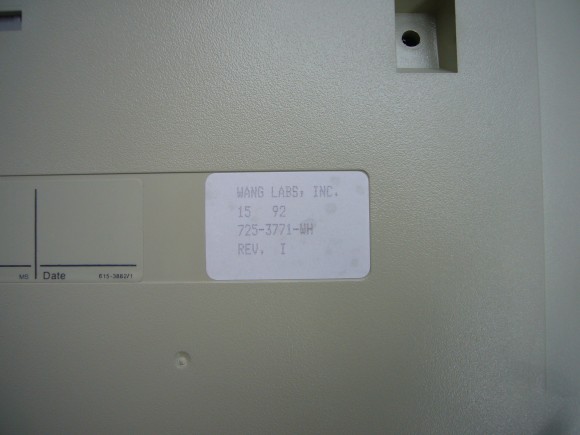
It was fun to tear down and clean this keyboard. Even though I've done it so many times, each piece of hardware is different, and this device was definitely one of the best engineered piece of equipment I've ever seen. For those interested in exact info, here is the "birth certificate":
Looks like it was produced in 1992. 20-year-old keyboard, not bad.
And for the very end, a few more pics.
And the whole gallery of all raw, unedited photos: WANG 724 raw photos.


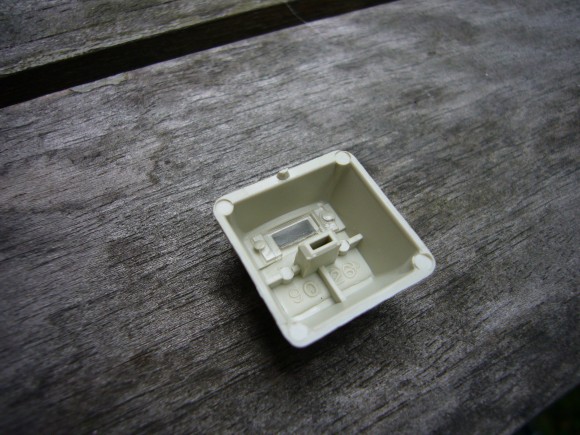
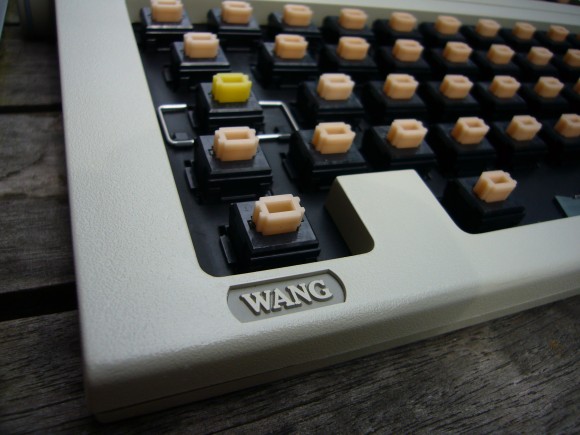
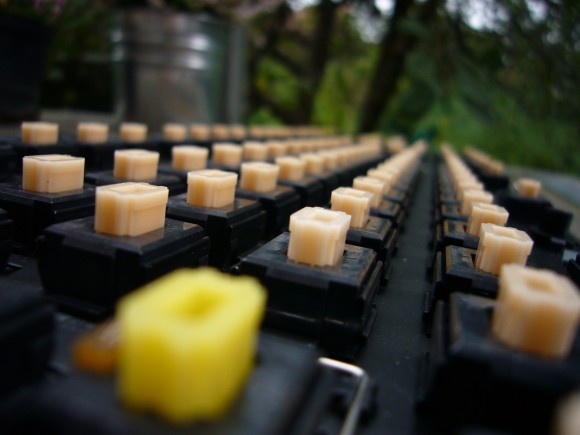
The yellow switches feel different because they're linear. The drop in force that you experience is provided by a folded metal leaf, and there's no room for that in the yellow switches, as the LED occupies the slot where the leaf should go.
See:
http://deskthority.net/wiki/Alps_SKCM_Salmon
http://deskthority.net/wiki/Alps_SKCL_Yellow
http://deskthority.net/wiki/Matias_switch (designed to work around this problem)
Thanks Daniel!
I thought I would add something, and that is that the speaker was for feedback. Well it was obvious, but this was because the keyboard was meant for writers/publishers that were already used to the loud mechanical click of a typewriter.
I have checked your blog and i have found some duplicate content, that's why you don't rank high in google's search results, but there is a tool that can help you to create 100% unique articles, search for: Boorfe's
tips unlimited content
Around the time of the Wang bankruptcy in the early 90s, I bought one of their 386 PCs from a computer surplus dealer, and this was the keyboard bundled with it. I should really dig it out - I'm sure it's much better than the board I'm typing on now! I'd also originally assumed 'WP' was WordPerfect, but this turns out to be wrong. WP and WP Plus were two of Wang's own word processing packages, originally dating back to the minicomputer era when they were seriously trying to compete with IBM. Various Wang packages was later ported for use on their PCs, so it was natural to include the labels. Sadly, none of this software was included with mine - I think I just got DOS on floppies, not even pre-installed.
I have this keyboard since a few months and it's the best keyboard I've ever had and I've tried a lot. I think it's better built than the old and beloved Model M. I don't care for buckling springs personally though. Too loud and heavy. I love Alps they have the perfect feel and sound for typing for me (except the black ones).
Amazing build quality on this one you can feel the love that went into it. All the details. You don't see stuff like this anymore. Mine was built 90' and it feels excellent still even though it has some wear on its keys. I will use this for a long time.